
DIFFICULTY: Moderate
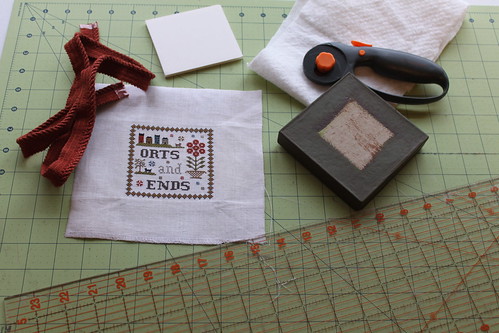
Supplies Needed:
Supplies Needed:
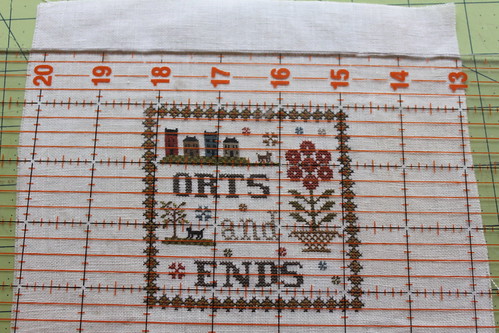
Stitched Piece
Cotton Batting
Foam Core
Painted Box (painting instructions included in The Scarlett House "Orts and Ends" Pattern)
Trim
Ruler, Rotary Cutter, Cutting Mat
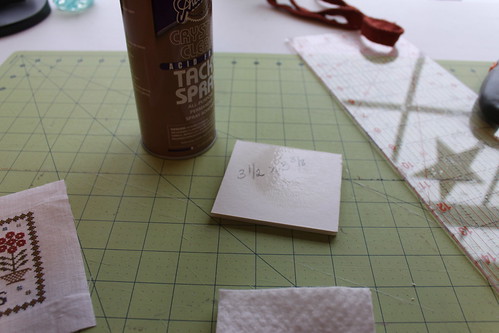
Spray Glue
Craft Glue
Scissors
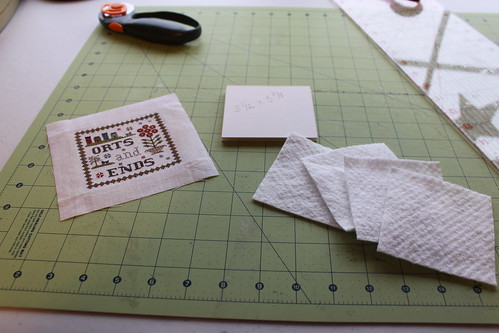
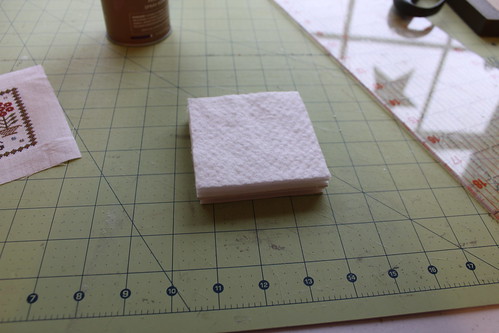
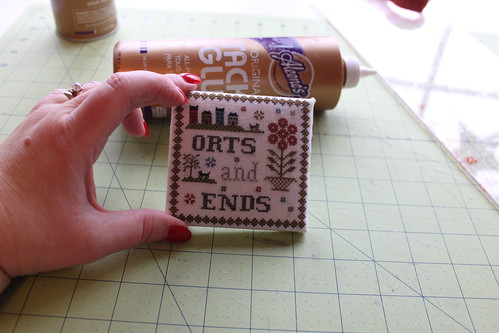
Decide on what size the foam core needs to be, I measured right up next to the design sides.
(For the count of fabric used in this model the form core turned out to be 3 1/2 inches X 3 3/8 inches)
Spray a bit of Spray Glue on the Foam Core and then stack the cotton batting on top.
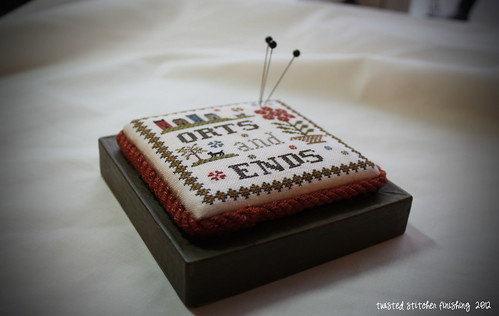
(we are using a lot of batting because Tanya wanted the topper to be a pincushion as well! of course if you didn't want this option, then just omit 3 of the cotton batting layers and use only 1 layer)
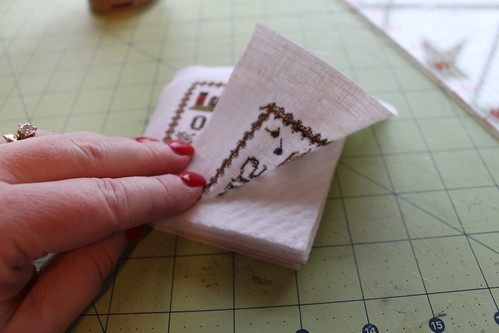
Next lay and center your stitched piece on top of the cotton batting layers which sit on top of the foam core.
*as shown*
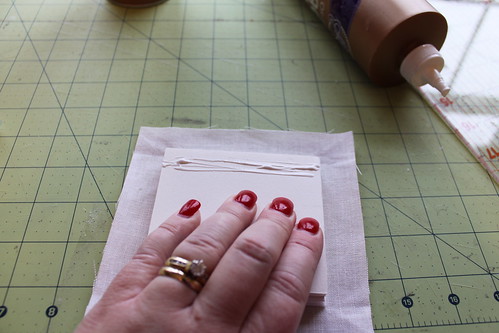
Take your craft glue, lay down a line on the bottom and fold back the sides until the front is perfectly centered and the sides are all glued back and down to the backside of the foam core.
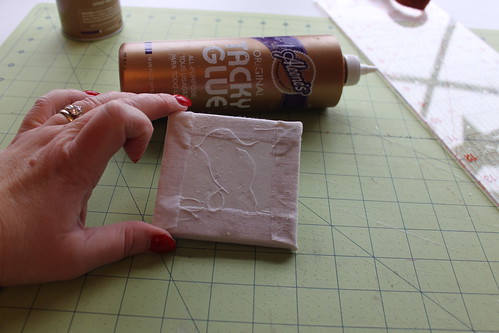
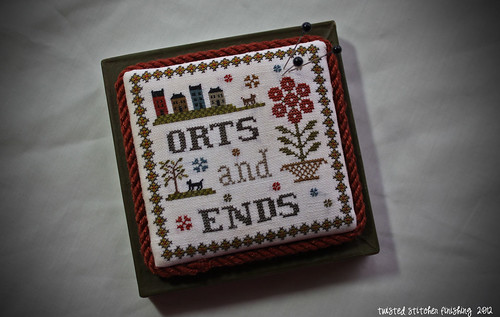
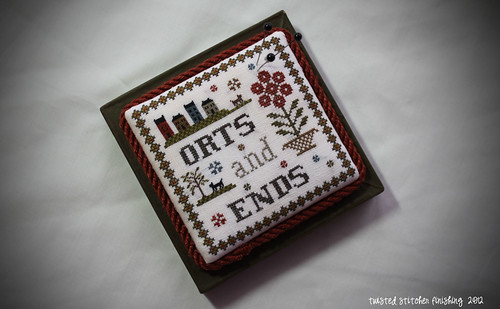
Once you get your top mounted as shown below, then spread some craft glue onto the top of your box lid, center and press the Orts and Ends topper onto the box top. Lay aside to dry.
Once top is dry, lay a thin line of craft glue,and press the trim into it around the box topper.
Enjoy!
Use my tutorials, copy my ideas, use my techniques, hints or tips? Please remember to give credit to my name: Vonna, The Twisted Stitcher ~ Thank you.