
DIFFICULTY LEVEL: EXPERIENCED BEGINNER
Things you will need:
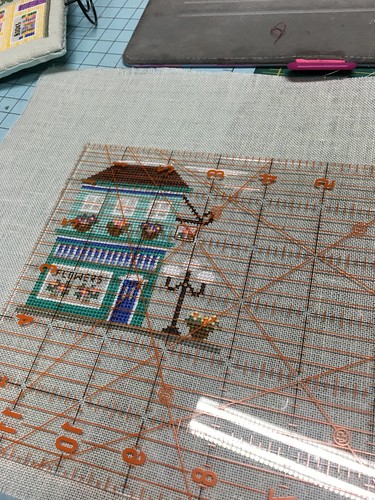
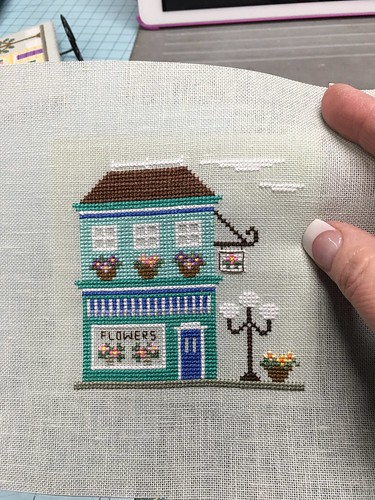
Stitched piece
Mat Board (you can buy it from a frame shop or Hobby Lobby also stocks sheets)
Cotton Batting - I use Warm and White brand cotton batting
Utility Knife and Cutting Mat
Rotary Blade and Quilting Ruler
Scissors
White/Clear drying Craft Glue - I use Aleene's
Upholstery Thread
Sewing Needle
DMC to make into complimentary cording (or some other embellishment for framing piece)
Kreinik Cording Drill (if you are making cording)
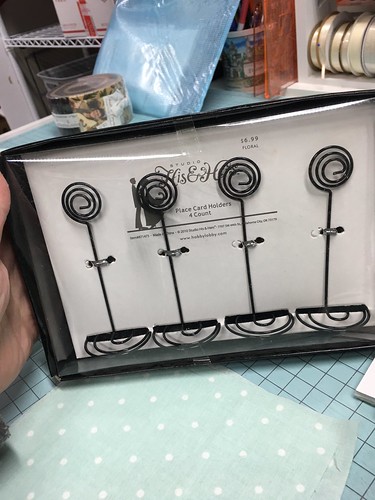
Place Card Holders - I buy mine at Hobby Lobby
Step One:
Measure your piece to determine the size you need to cut your mat board pieces
I like my margins tight - 1/4 - 3/4 inch. For this series I chose 1/4 margin on all 4 sides.
Meaning that my cutting size was going to be 4 1/4 inches x 4 1/4 inches.
HINT: write the size down...its easier to write it down rather than cutting over when you don't get dimensions correct!
STEP TWO:
Cut your mat board squares - using the ruler and a utility knife.
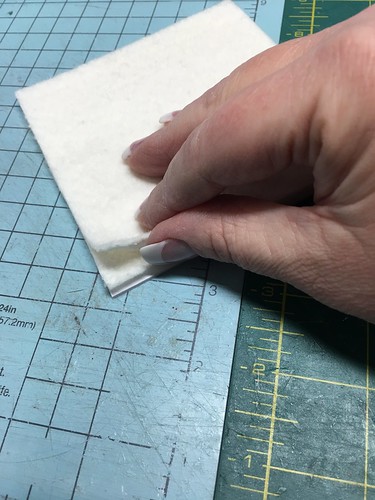
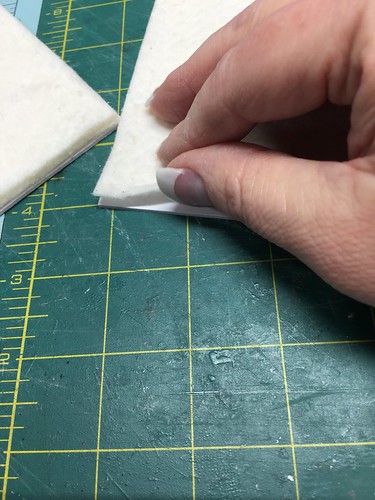
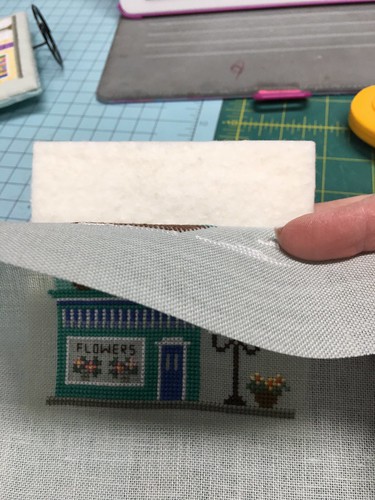
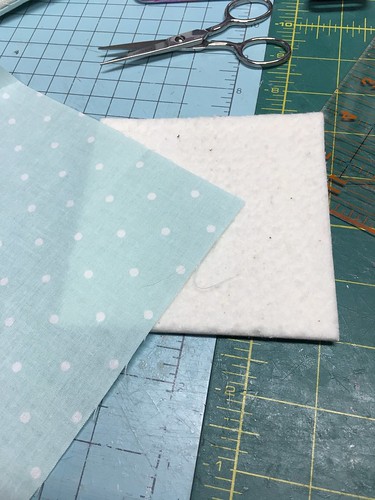
Take square and smear a little bit of glue on one side - press into cotton batting, then cut out.
The square that will have the STITCHING I use TWO layers of batting.
The square that will have the complementary cotton fabric will have ONE layer of batting.
STEP THREE:
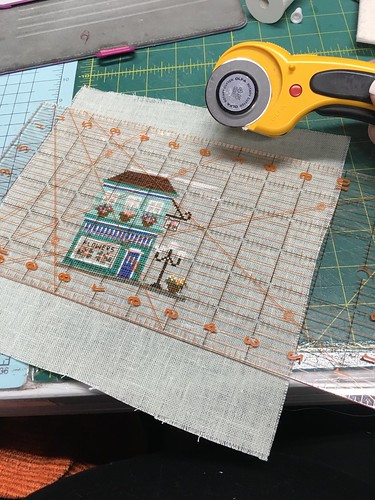
Trim your stitched piece down, 1 1/2 inches from edge of stitching on all 4 sides
STEP FOUR:
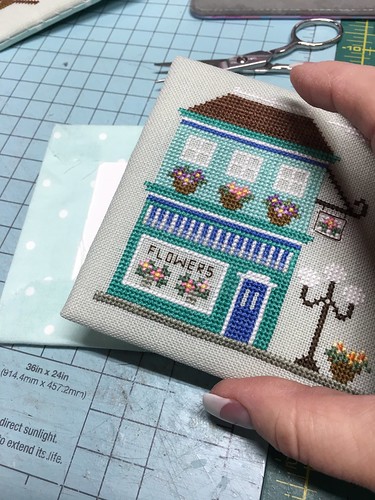
Take trimmed stitched piece and lay on top of the mat board square that has TWO layers of batting.
Center it.
STEP FIVE:
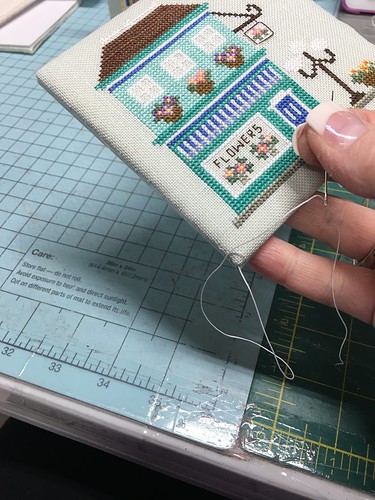
Load up a sewing needle with your upholster thread and begin to lace scooping stitches from side to side, as shown:
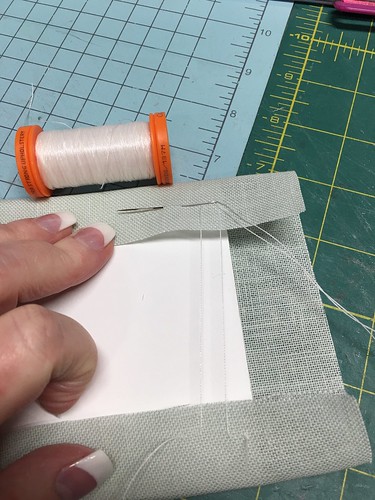
Pull tight the stitches by pulling with your fingers from first side to the last stitch and end off with a knot. Do not pull stitches so tight that it puckers on the sides and front.
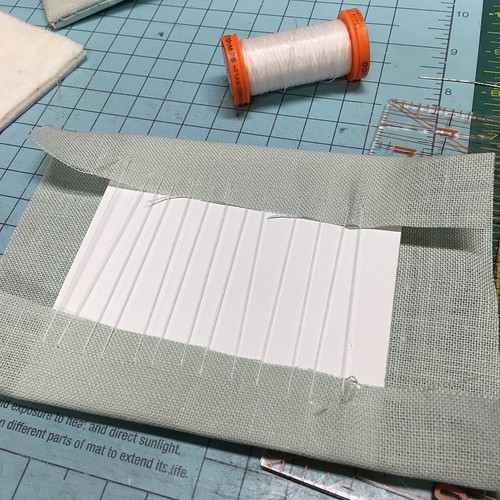
Fold in the corners (I do not miter the corners) and lace from side to side as shown, pulling tight, but not so tight that it puckers on the side.

STEP SIX:
Take complimentary fabric and center on mat board square with ONE piece of cotton batting.
De-bulk the corners by mitering the corners by cutting at a 45 degree angle about 1/4 inch away from the corner.
Glue sides with craft glue.
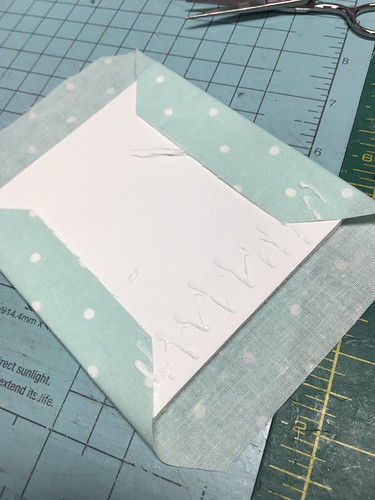
Your backing square will look like this:

STEP SEVEN:
layer your stitched piece on top of your backing piece
Starting in the lower right hand corner, load up your sewing needle with upholstery thread and start whip stitching the two pieces together.
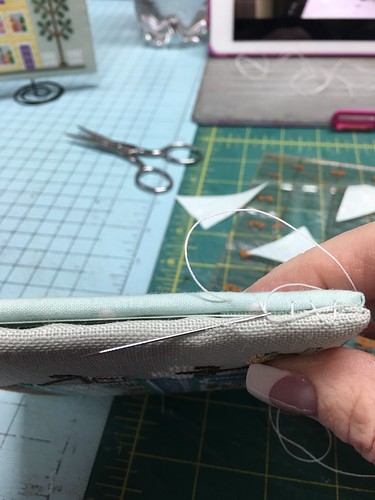

Continue sewing around right side, top side and left side until you come to lower corner.
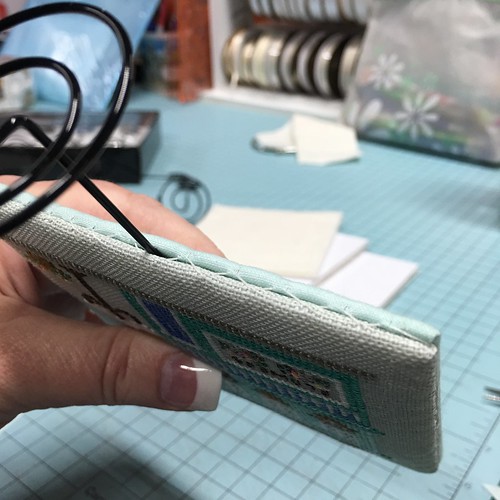
STEP EIGHT:
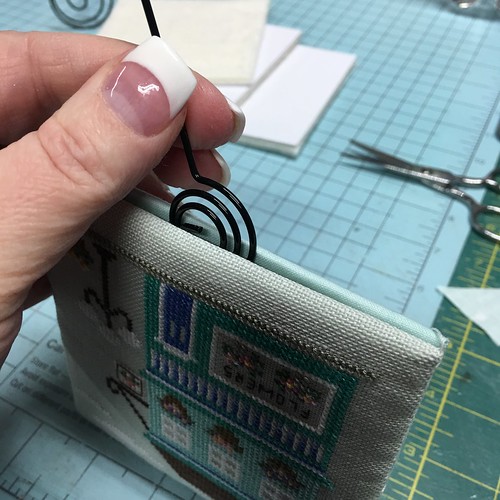
take a place card holder:
Slip the place card holder inside - between the two sides of the sandwiched ornament
continue whip stitching together:
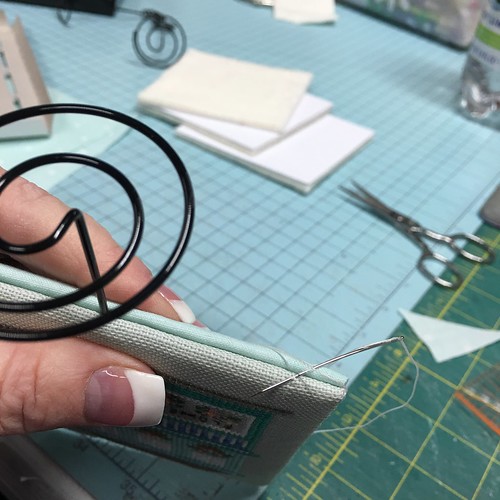
This is how it will look when completed:
STEP NINE:
Embellish sides with cording - (pom poms, rick rack, whatever you desire)
I attach my cording on HARD FINISHES (as this one is) using white, clear drying, acid free, craft glue in a thin line along the edges, using straight pins to hold in place at corners and then hidden inside the cording. This will HIDE the whip stitches and beautify your piece.
NOTE: if you need to know how to make cording please see either the WRITTEN TUTORIAL HERE: CORDING
or VIDEO TUTORIAL HERE: CORDING
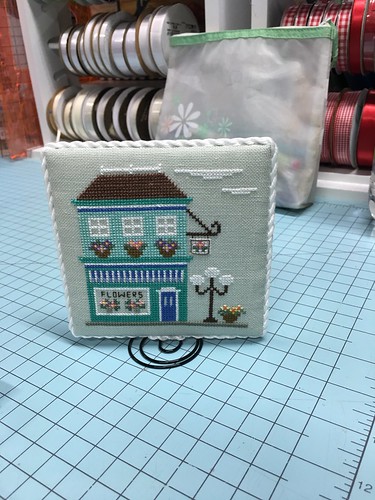
Now these sweet finishes can stand up firm and tall inside cubbies, on mantles, shelves, tables...just anywhere. Aren't they sweet?!
Don't forget...if using my tutorials - please GIVE CREDIT, where credit is due!
Use my tutorials, copy my ideas, use my techniques, hints or tips? Please remember to give credit to my name: Vonna, The Twisted Stitcher ~ Thank you.