
This tutorial features the "how to" and shows exactly how I finished
The Farmhouse Christmas Ornament Cover Models
by Little House Needleworks
DIFFICULTY LEVEL: MODERATE
DIFFICULTY LEVEL: MODERATE

It may be viewed in VIDEO FORMAT HERE
if you prefer written pictorial tutorials, it follows, however being a one person show, it was hard to remember to take still shots of the entire process...more detailed information and of course visual detail is contained within the video.
Things you will need:
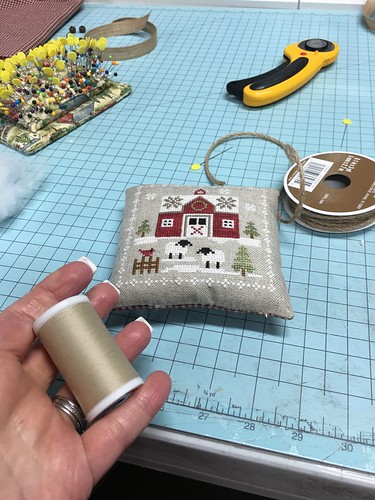
1. Completed Stitched Piece
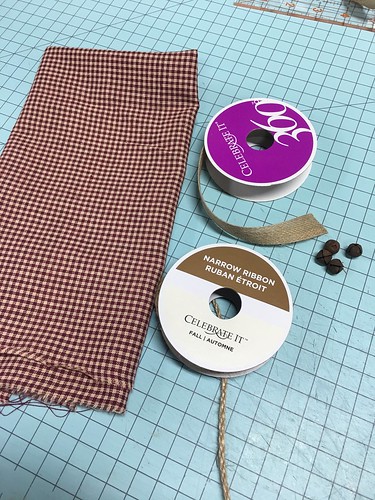
2. Red Homespun, mine is small check, I got it at Hobby Lobby however it is available at Joann's as well.
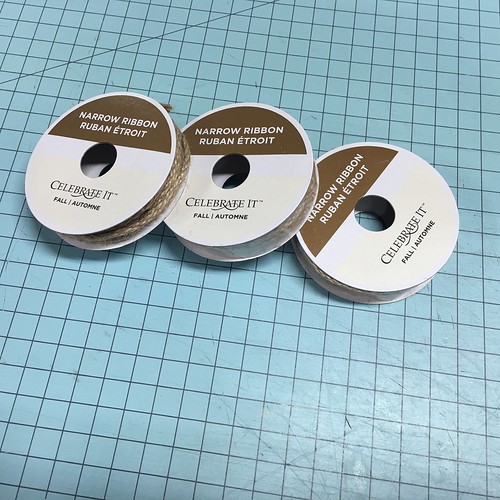
3. Twine (jute) I got mine at Michael's and it is by Celebrate It!
4. Jute Ribbon, I got mine at Michael's and it is by Celebrate It!
*both the twine and jute ribbon may be sourced at other craft stores (Joann's/Hobby Lobby) under different company names, but same product
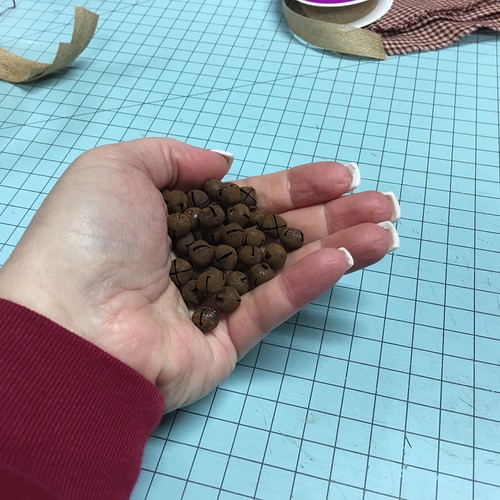
5. Rusty Jingle bells - those used in the ornament finish are 1/4 inches in diameter. I purchased at them Factory Craft Direct they come in mm sizes...choose 6 mm, 10 mm or 13 mm sizes whichever you prefer. Mine are 6 mm.
6. Interfacing P44F by Pellon is what I use - it is a very light interfacing available anywhere you purchase fabrics. I get mine at Joann's by the yard or Joann's online by the bolt
7. White Quilting Cotton
8. Mountain Mist fiberfill
9. Chop Stick
10. Sewing Thread (ecru/ivory color)
11. Needle
12. Rotary Cutter and Self-Healing Mat
13. Quilting Square
14. Sewing Machine
15. Scissors
16. Bamboo Points Turner (corner poker outer)
Photo Shot of the brands/color/size of bells for comparison:
Photo Shot of the brands/color/size of bells for comparison:
STEP ONE:
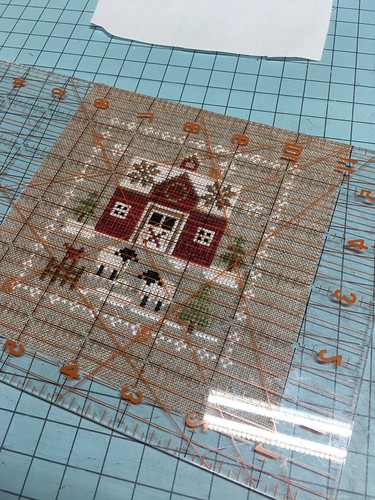
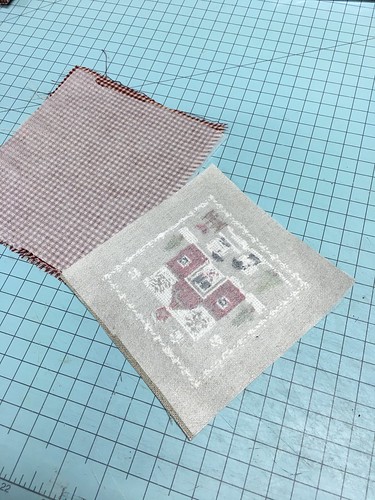
Trim your piece on all 4 sides down to 3/4 inch from edge of stitching:
STEP TWO:
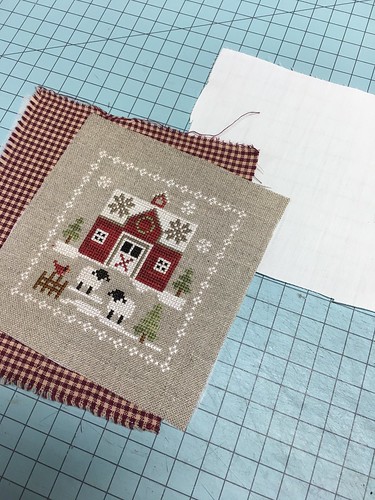
Cut a piece of your homespun to size of trimmed ornament and also a piece of white quilting cotton to size of trimmed ornament.
**HINT**
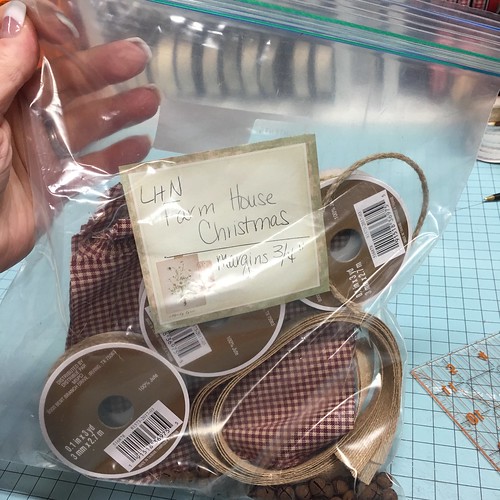
When I am finishing a "set" or "series" of items and I cannot finish them all at the same time (as it always is for model finishing I finish in groups of 3 - these ornaments WERE NOT finished at the same time for Little House) This is what I do every time so that I may get consistency and exactness across a series or set...I create "finish" kits. Consistency and sameness across a set of finished items makes those items even more beautiful when they each are finished in an exact manner/ exact sameness this is what I do:
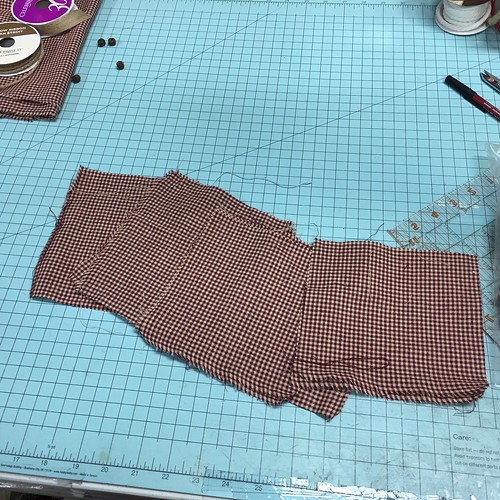
When I get the size of backing material needed, I cut how ever many squares I need to complete the set and set them aside (In this case you will need 8 in your finish kit):
For this series I didn't know how many I needed but after finishing the first set of 3 I knew that every 3 ornaments took 1 spool of the twine, so you will need 3 spools of twine in your kit:
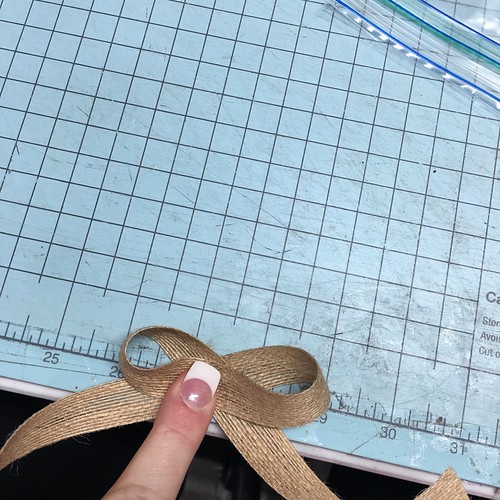
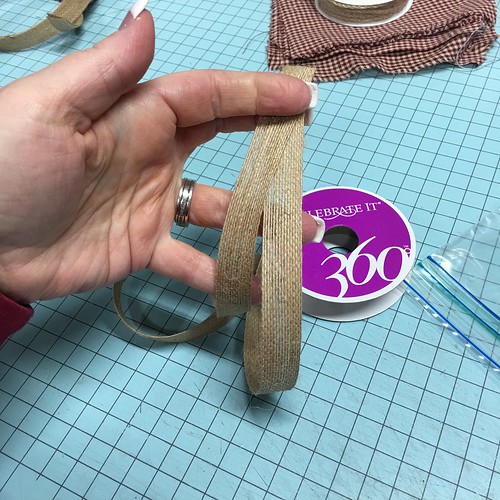
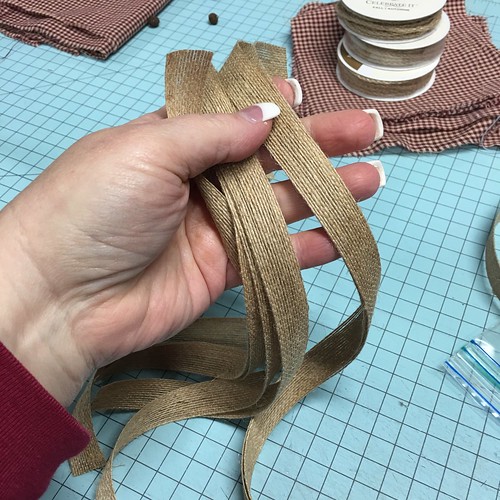
I wanted a 3 inch bow (from curve of bow to curve of bow) for this series, I generally held that "bow" shape and figured out the length needed and then cut 9 strands - reserving 1 for this finish and putting the 8 other lengths in my finishing kit:
I used four 6 mm rusty jingle bells on the corners of the ornament, so I put 32 rusty bells in my finish kit (8 ornaments x 4 rusty bells = 32 rusty bells)
On a slip of paper put what the "Finish Kit" is for and any notes you have:
I put what my margin was and also that my bow is 3 inches, slipped it inside the bag, zipped it up and pinned it on my design wall. :)
FINISHING KIT:
STEP THREE:
iron interfacing (P44F Pellon) to the back of the homespun and stitched pieces
STEP FOUR:
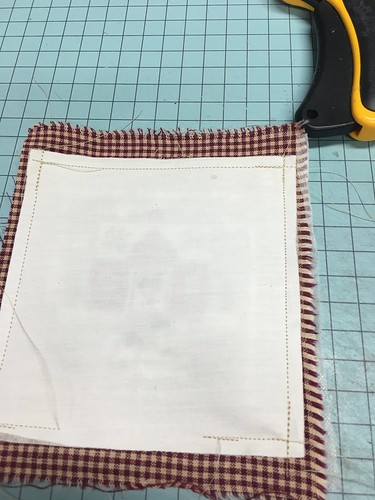
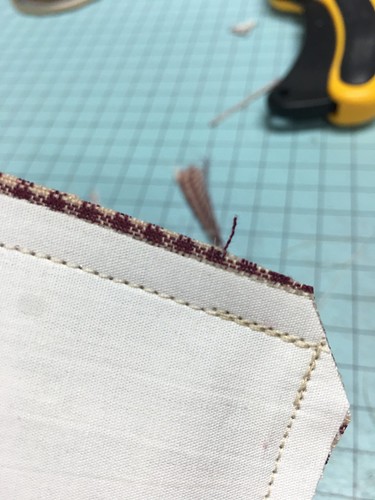
Make your sewing "sandwich" by putting homespun pretty side up on the table, then your stitched piece pretty side down on top of the homespun, put your white quilting cotton on top, pin and sew with 1/4 inch seam allowances. At each corner, run off corner then reverse to lock and reinforce corners, pull off machine, clip thread and turn 90 degrees to go down alternative side. At bottom don't forget to leave a turning space that is also reinforced with reverse stitches to lock seams. Your piece should look like this when sewing is completed:
STEP FIVE:
Clip corners diagonally where seams meet:
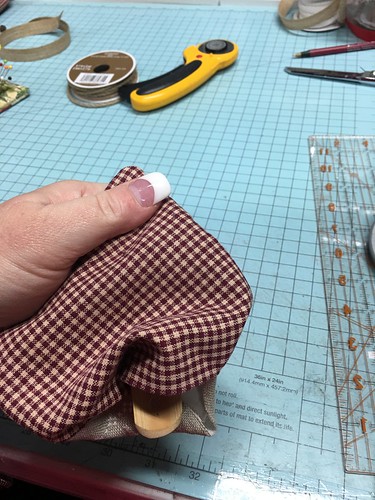
STEP SIX:
Turn out and poke corners out to SQUARE using your points turner.
HINT: run the points turner along seam edge to flatten and push out
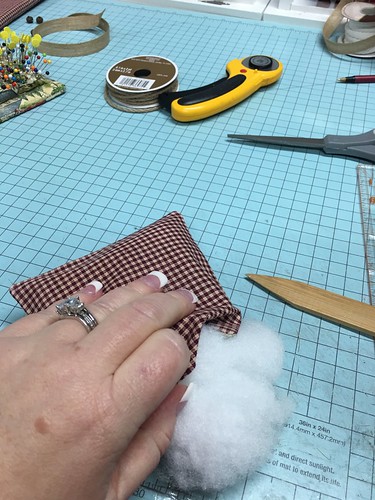
STEP SEVEN:
Stuff with fiber fill, I use Mountain Mist brand.
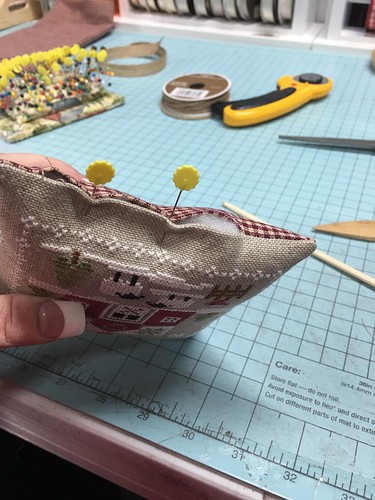
STEP EIGHT:
Pin opening closed and using a blind stitch (or ladder stitch) sew closed, using ecru thread and a little wax on the sewing thread to strengthen it, before you begin sewing closed.

STEP NINE:
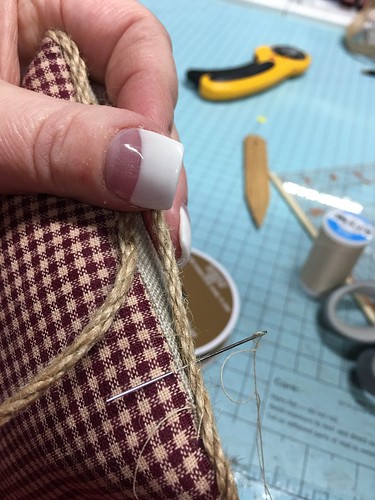
Getting a tan color thread, load your sewing needle and begin to hand sew the twine cording on along the edge of the ornament... Start at the top middle where your ornament "hanger" will be leaving about 4-5 inch length hanging off top (so start 4-5 inches down the twine, and then sink first stitch on ornament at the place)
I use a whip stitch, paying close attention to lay my thread into the "twist" of the twine, as I stitch and pull the thread it will virtually disappear into the twine.
STEP TEN:
When your twine meets at the top, loop our thread around both legs of the twine a couple of times and end off. Then measure out 4 inches with BOTH legs of the cording, CUT off spool. Then at the 4 inch mark, take sewing thread and sew the ends together (creating the hanger) by looping around and around the twine and ending off.
STEP ELEVEN:
Make a 3 inch bow...find out how I do it HERE
STEP TWELVE:
Take the bow on at the joined legs of the twine at the top center of the ornament.
STEP THIRTEEN:
Take the 4 rusty jingle bells, dampen a towel and rub them to clean off excess "rusty" so that it won't "rusty" your linen. HEAVILY WAX your thread the shank of the rusty bell will easily cut the thread, waxing heavily will help avoid this. Double your thread using a LOOP METHOD and just sew the bells on all four corners.
**HINT** coming through the shank from behind allows the jingle bell to stay to the front of the face of the ornament. This is what you want.
DONE ~ Admire your beautiful ornament!
Use my tutorials, copy my ideas, use my techniques, hints or tips? Please remember to give credit to my name: Vonna, The Twisted Stitcher ~ Thank you.