
DIFFICULTY LEVEL: High Moderate
Gather Needed Supplies:
Gather Needed Supplies:
White Craft Glue (I use Aleene's Tacky Glue)
Spray Craft Glue (I use Aleene's Tacky Spray)
Rotary Cutter
Ruled Square
Self-healing Mat
Scissors
Acid Free Mat Board
Cotton Batting
Coordinating Material
Stitched Piece
Coordinating Ribbon/Trim
Straight Pin
Step One:
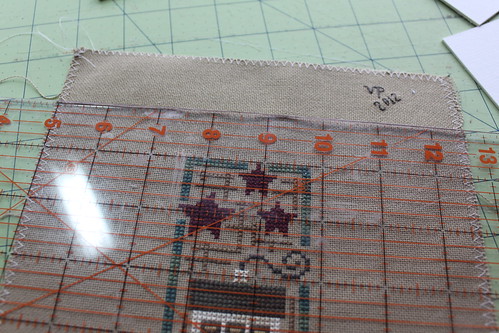
Trim your stitched piece appropriately to the size you want.
(I am leaving no margin of linen showing around my ornament so I cut it 1" inch from the border.)
**NOTE:**
Please follow the steps outline in: The Flat Ornament... to mount your cotton batting and your stitched piece onto the mat board.
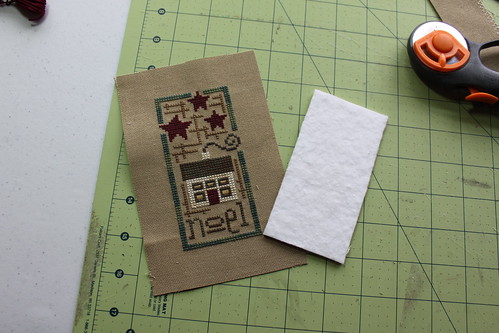
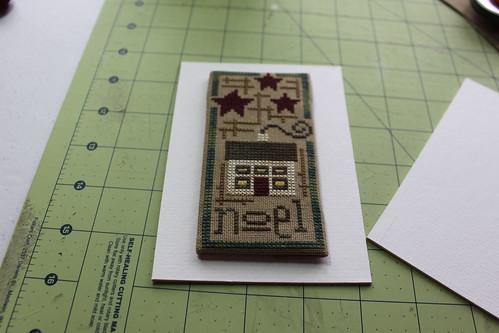
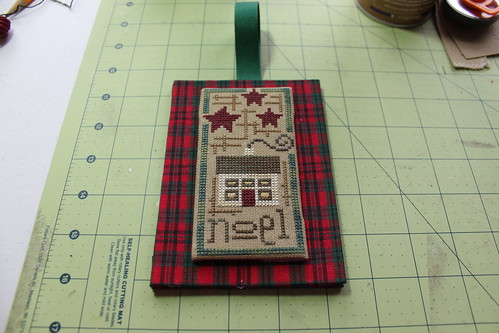
Step Two:
After mounting your stitched piece, play around with the amount of margin you want showing around your ornament.
(for this ornament it is about 3/4 inch on all sides)
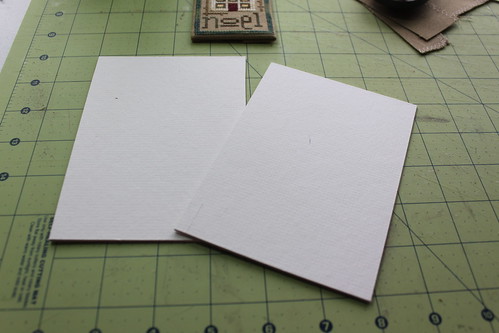
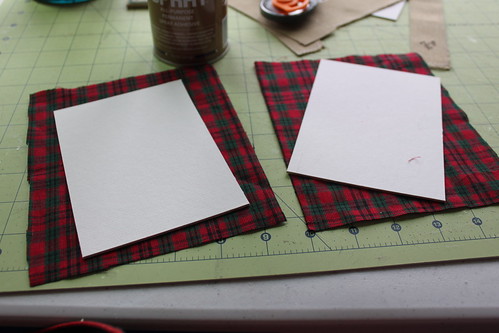
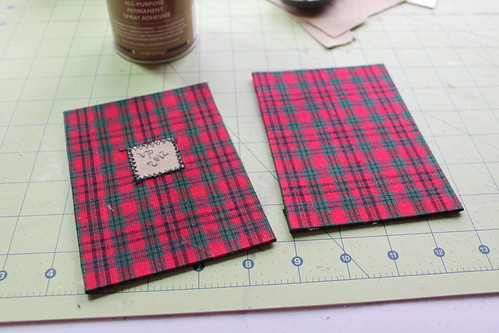
Determine your size needed, cut two mat board pieces.
Step Three:
Choose your coordinating material. Cut two pieces to completely cover the mat board pieces cut in the prior step.
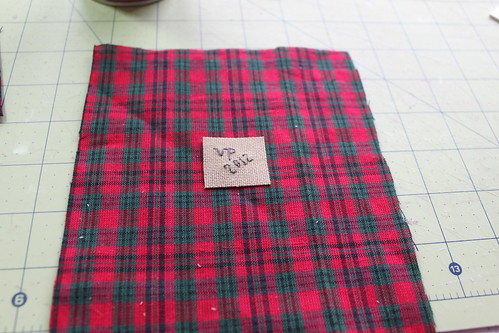
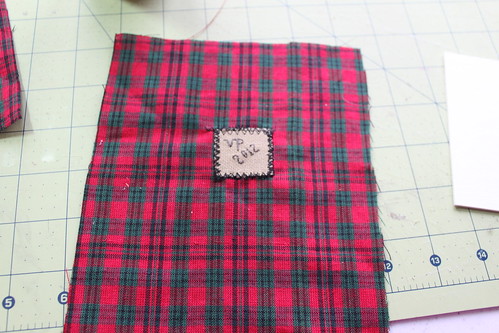
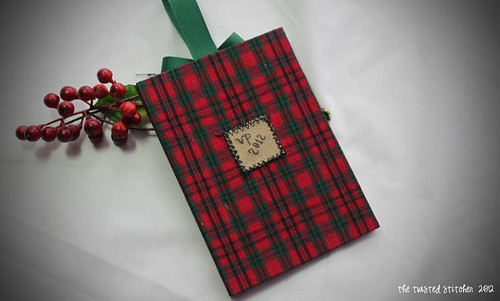
(I always put a "signature" patch on my ornaments, if you choose to do this, cut the "patch" out, and zigzag around it on the backing piece of material as shown in the pictures below)
Step Four:
Lightly spray with Craft Glue Spray, wave in the air to dry slightly until the surface is not wet, just tacky. Flip, center and press the mat board firmly against the fabric. Flip the entire mat board/fabric combo over and smooth out any bubbles, straighten the fabric (if needed), glue the top and sides to the back of the mat board.
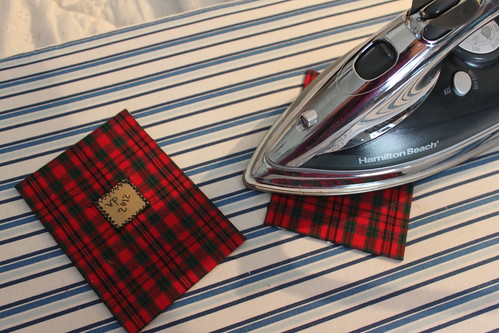
Step Five:
Once the sides are glued back, iron the tops of the mounted complimenting material halves so that the material is perfectly wrinkle free and perfect looking:
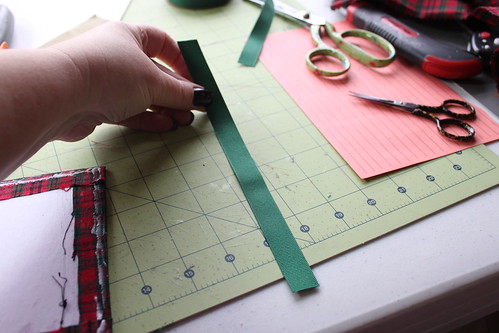
Step Six:
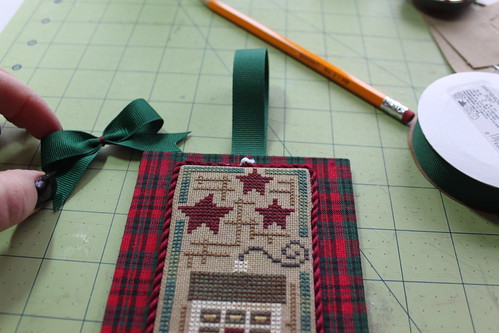
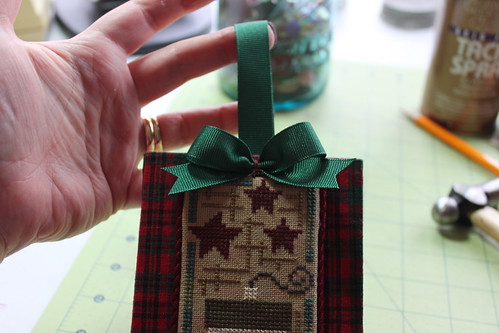
Spread glue on one half all over and on the other half just at the edge. Cut a length (about 6 inches long) of ribbon for the hanger. Fold in half and place on the back half of the ornament backing.

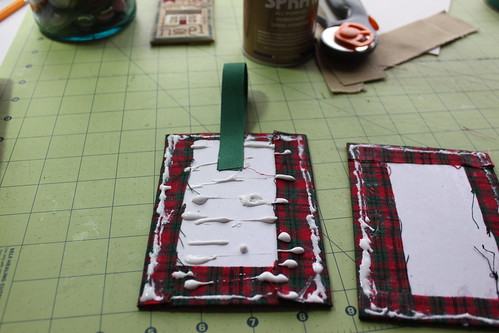
Step Seven:
Place the other half on top of the backing half, sandwiching the ribbon hanger in the middle.

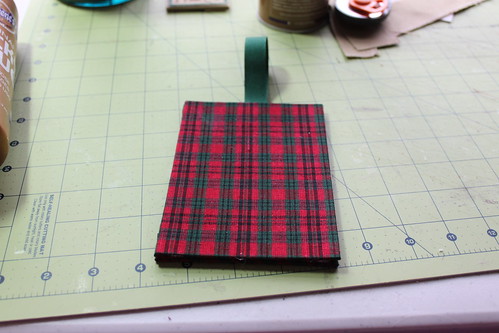
Step Eight:
Spread glue on the stitched part, center of flat mounting surface, drop and press on firmly to seal.

Step Nine:
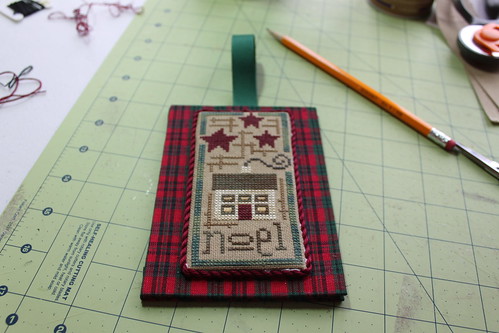
Make some cording (you can find out how I make mine here: The Cording... ).
Lay a thin line of Craft glue around the perimeter of the stitched mounted piece, find the center of your length of cording and press it into the middle BOTTOM of your ornament. Take each "leg" of your cording and work up the side, ending up at the top middle, lay one leg of the cording down, place a dot of glue and lay the other leg of the cording down.
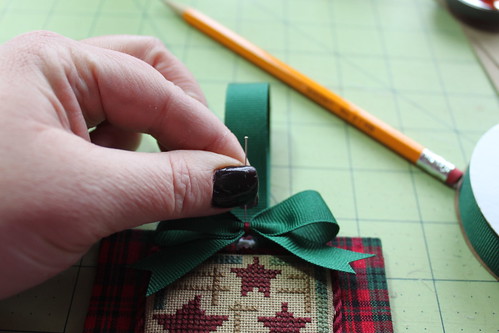
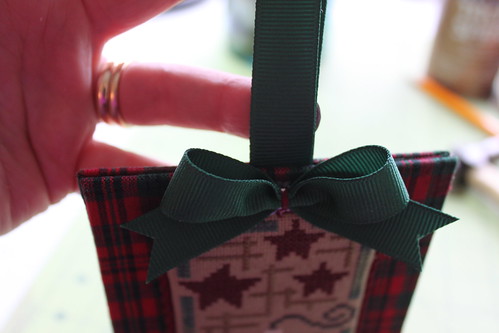
Step Ten:
Make a bow out of your coordinating ribbon, place a dot of glue at the junction where your two cording ends met, so that you can "hide" them. Place the bow on top, using a straight pin, attach the bow.
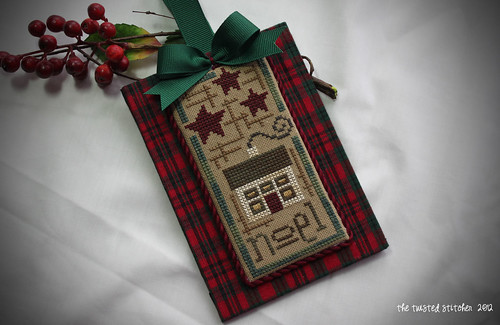
Admire your beautifully finished ornament! That's all there is to: The Mounted Flat Ornament ~ Vonna style!
Use my tutorials, copy my ideas, use my techniques, hints or tips? Please remember to give credit to my name: Vonna, The Twisted Stitcher ~ Thank you.