
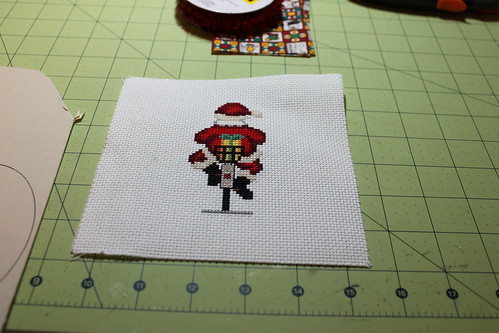
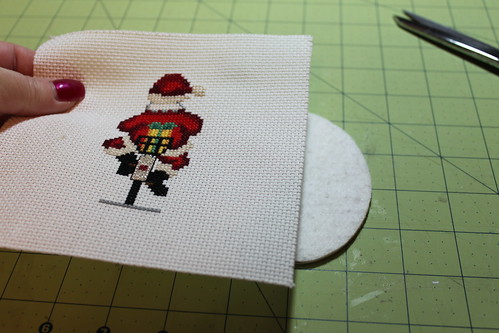
1. So....you've finished a project and want to make an ornament. First thing to do is press your ornament - then lay it out and think about the shape you'd like it to be.
TIP: At your local craft store, you can browse the scrapbooking aisle and find wonderful shape templates - maybe an oval would be nice for your ornament? circle? star? triangle? They are all available in templates such as these in the scrapbooking aisle of your local craft store.
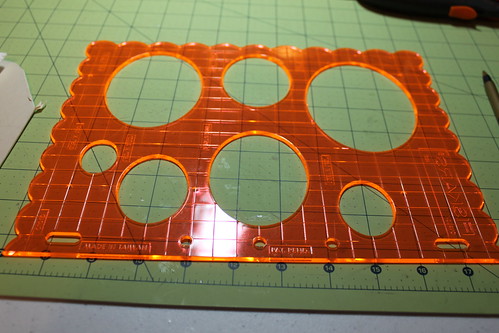
2. You've picked an oval for your ornament now, what size will it be? measure and try out...

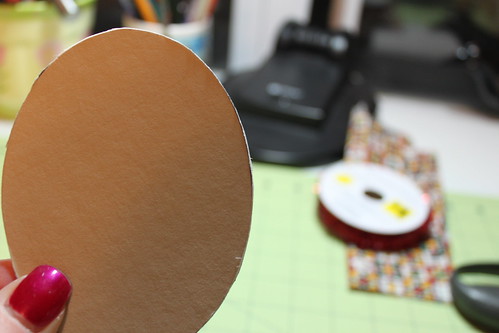
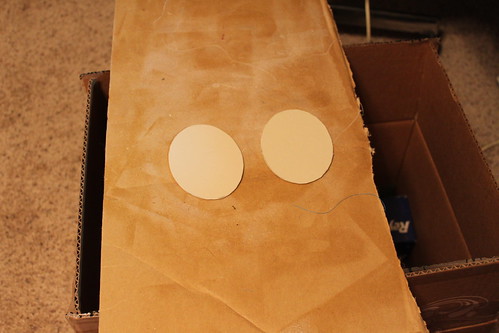
3. Using the template, trace the oval onto acid free mat board - also found at your local craft store, in the framing department.
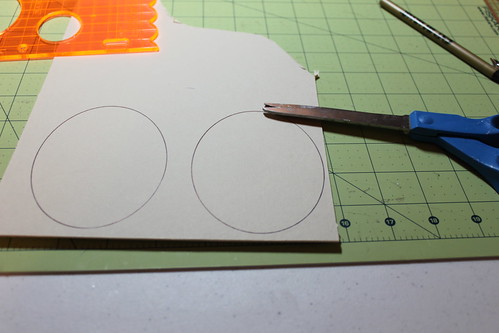
4. Cut out your ovals using a pair of paper/general use scissors.
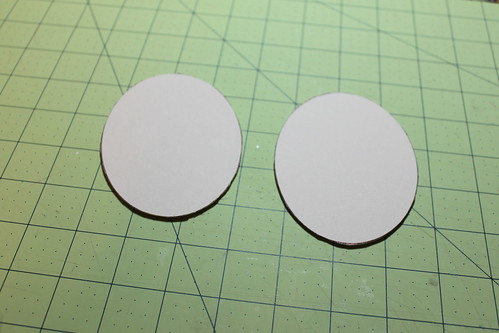
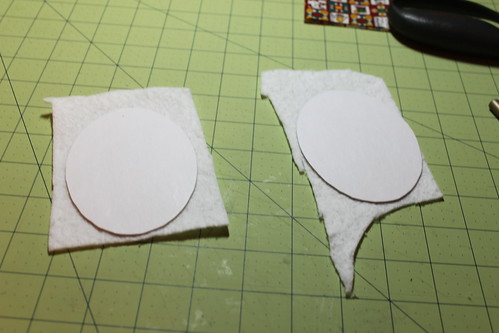
5. Make sure they match up, correctly.
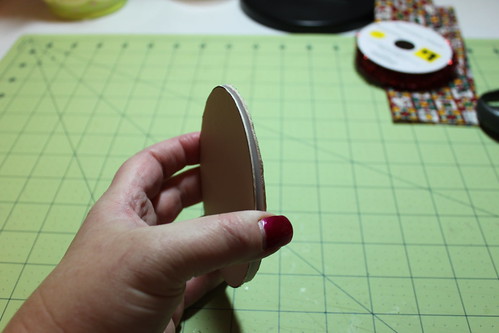
6. Although they match up...the scissors leave an annoying imperfect edge... so what I do is get my fine grit sandpaper out and run my ovals (held together so that they will have identical edges) on to sandpaper, scraping the sides to a sanded smooth perfect edge.
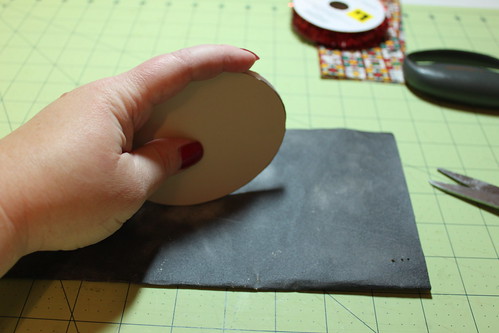
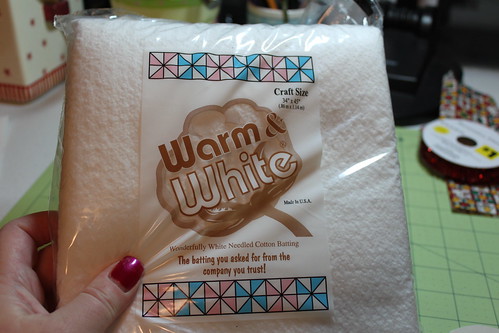
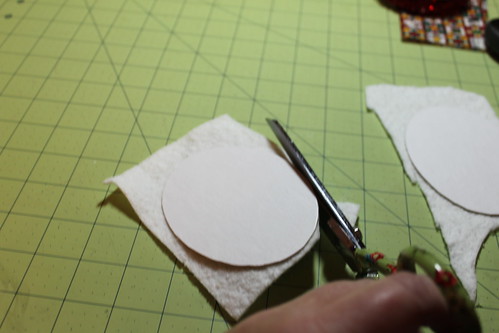
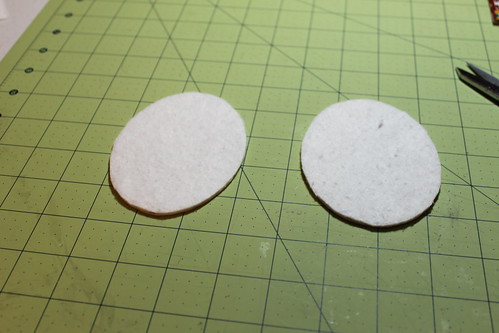
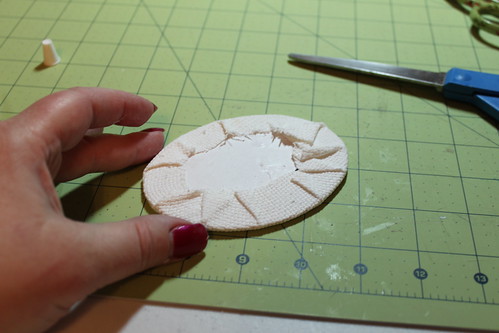
7. Get out your batting and glue the mat board shapes to it
TIP: I used to use the polyester batting, but then I tried the 100% cotton batting (shown) and although it is a bit more expensive, it has a smooth, even, perfect finish, every time. I highly recommend it!
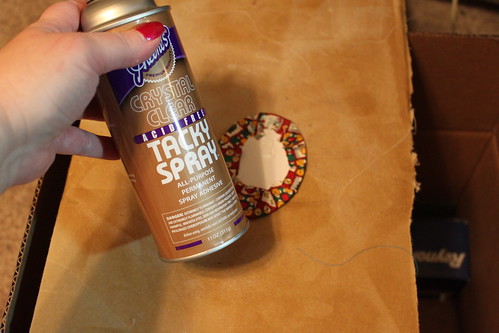
TIP: Instead of using white liquid glue, I have found that spray on acid free craft glue is the perfect technique for applying batting to the mat board. This is the brand I use.

TIP: I use a large cardboard box, with a piece of cardboard placed over the top, for my "spray table". Using the box allows any "over spray to go in the box and NOT on my carpet.
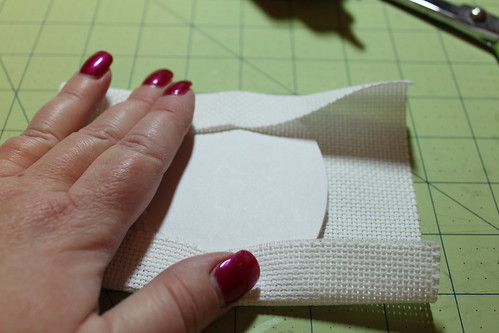
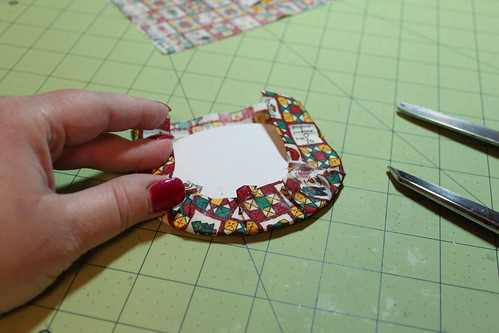
8. After your shapes have been pressed onto the batting material, trim the edges with your fabric scissors.
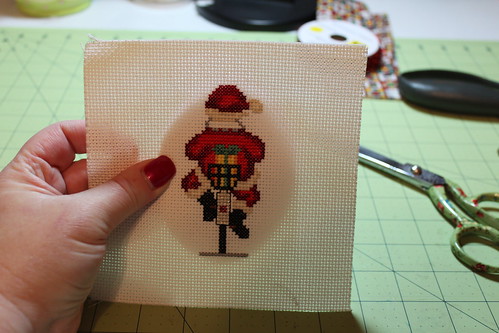
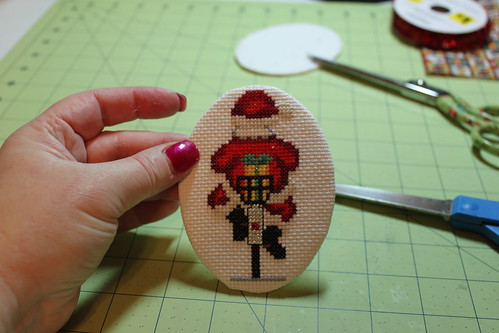
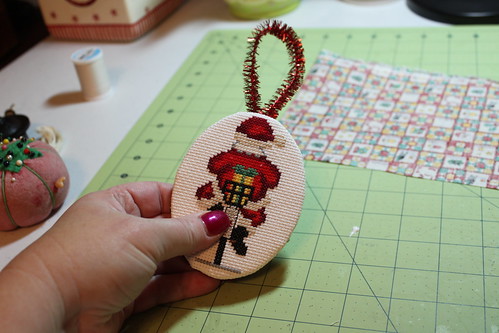
9. Now mount your stitched piece onto one of the shapes.
TIP: working in a well lit area, allows you to hold up your shape and stitched piece, there by seeing the shadow of the shape behind the stitching to mount and center it perfectly.
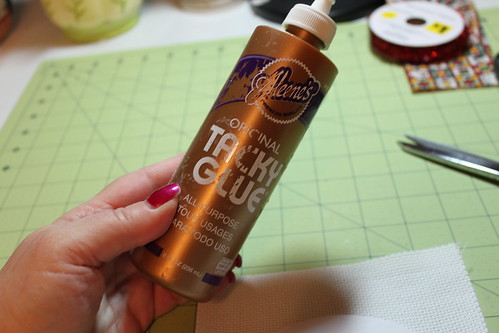
TIP: use a white, clear drying craft glue to glue the edges to the back side of the mounting board. I use the brand shown.
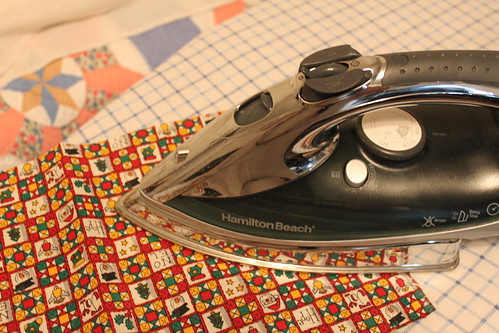
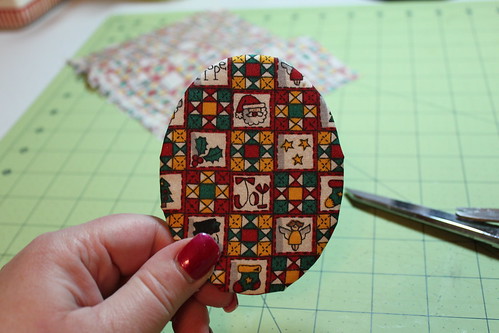
10. Pick out your complimentary backing material and iron.
TIP: Ironing everything - including any complimenting material for backings - makes for a neat, perfectly finished, professional looking end product. Take the time to do it, extra steps make all the difference!
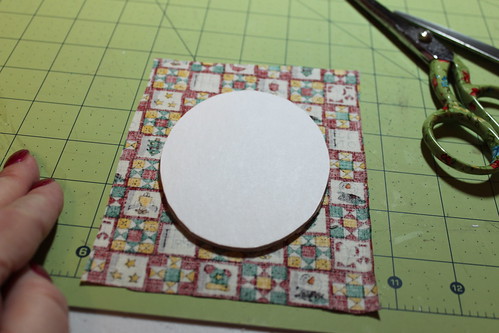
11. Now mount the backing material onto the back, just like we did with the stitching.
TIP: if your complimenting material has a geometric shapes or lines to it, please make sure that it is on the mounting board straight. Not having it straight will mean ending up with a crooked unsightly finish.
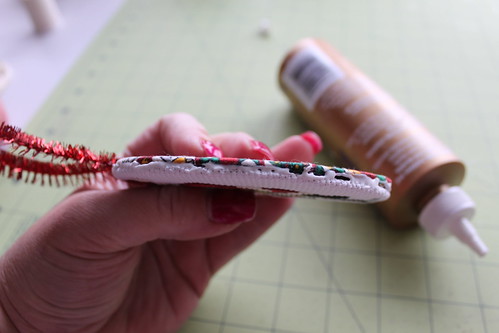
12. Take the backing piece and spray the edge with the acid free spray glue (this will help the edge to be perfectly sealed with the stitched top.
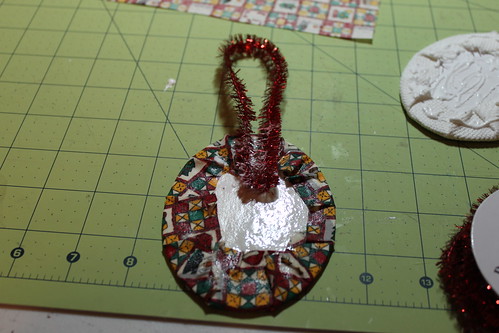
13. Before sandwiching front and back together, add your hanger with the trim you are using. Notice I added white craft glue to the stitched top (in the background) too.
14. Press front and back together.
15. Now we are ready for the drying to begin - lay your project on top of some old magazines.
TIP: Now place your project inside a plastic bag so that it is protected and will not get dirty from anything during the drying process.
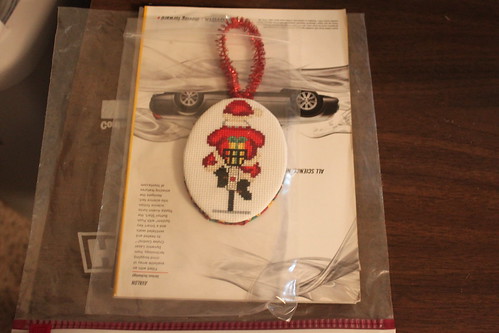
Layer some more magazines on top so that top and bottom is sandwiching your project.
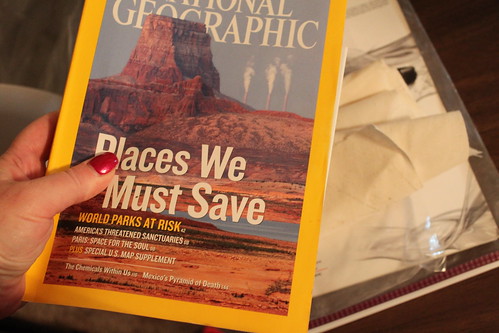
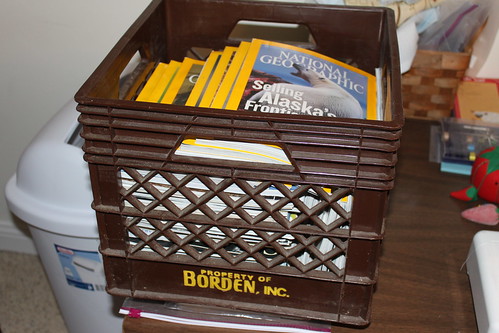
get a box filled with old magazines and put on top of the whole kit and caboodle:
After about an hour.....
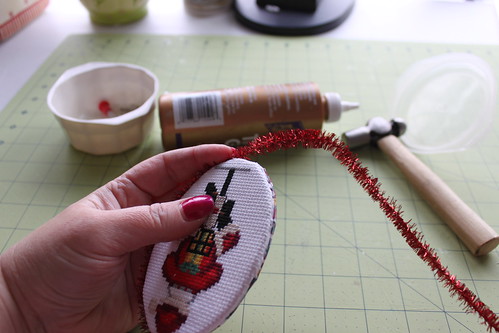
16. Now add your trim....add a small beaded line of glue:
Lay your trim along the edge:
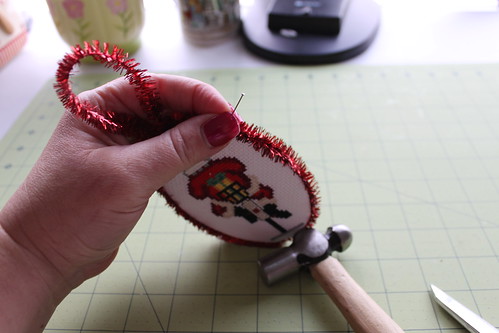
17. At the very end after the trim has been put along the edge, I go back and secure with flathead pins so that it stays nicely, the pins will disappear into the trim and go unnoticed.
TIP: save your finger tips, purchase a small hammer to hammer the pins in.
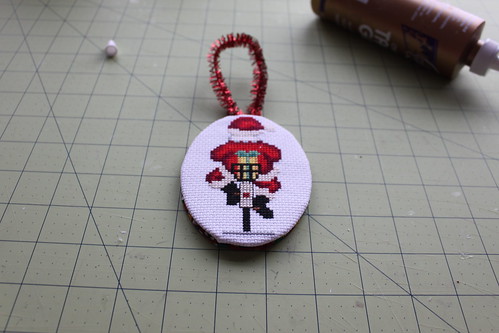
Then there you have a perfectly finished special shaped ornament!

Ornament stitching courteousy of Donna O.
Finished by my finishing service