ALL of the content on this page is originated and authored by Vonna Pfeiffer, The Twisted Stitcher. These tutorials, tips and techniques are given freely for all to use. When using ANY part or piece of these tutorials in your own work, (i.e. if I have taught you to finish the item or part of the item) then crediting my name is the accepted way of "giving credit where credit is due". I expect nothing more than simple credit to my body of work. -------No part or piece of these pages and tutorials may be copied, printed or used in classes, videos, books, or any form of use for personal gain without explicit permission from the author.----- Thank you.

THIS BLOG is easily navigated. ALL tutorials are listed by kind: video OR written in the left side bar.

In some cases I have both written AND video tutorials, please either: use the SEARCH function - also found on the left side bar at top OR just simply look on the left side bar and scroll down to see all tutorials I have authored over the years. Thank you.

Monday, December 13, 2010

Pressing your stitching projects....

1. Dress your ironing board correctly.
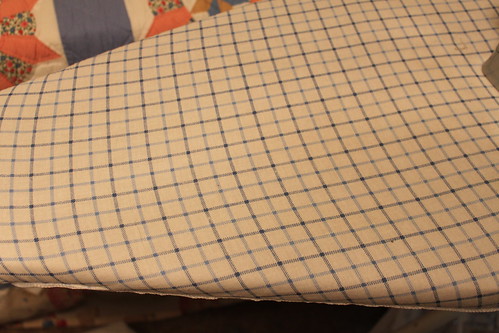
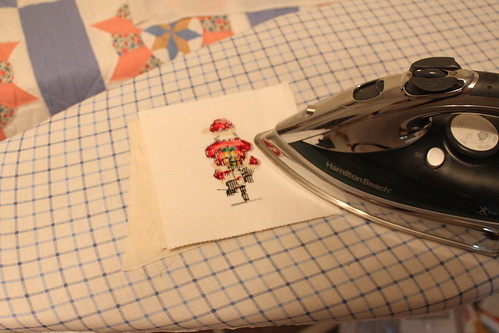
My ironing board has a layer of thin foam, then two ironing board covers for added cushioning, since I iron lots of stitching on it. You want it cushy so that your stitches are not flatened during the ironing process.

IMG_4084


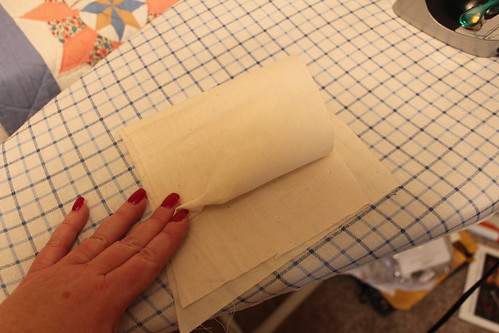
2. Use a pressing cloth...
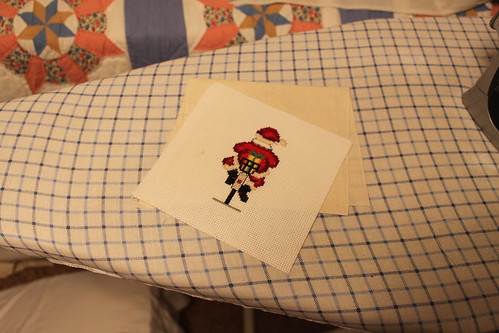
or if you are like me, save old muslin scraps and fold them for added cushion and protection of your stitches - this will help protect any beads/buttons that may be added to your project.
IMG_4087


3. Lay your stitching FACE DOWN on top of your pressing cloth.

IMG_4091

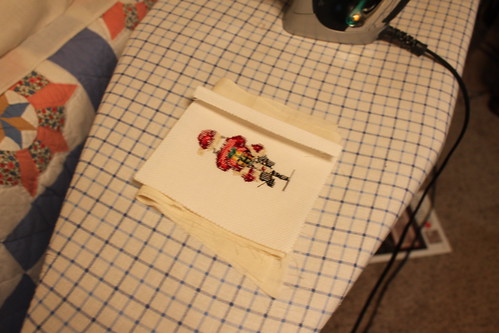
4. Iron quickly on high heat.
Steam is great to use IF you have stitched the item in colorfast thread (i.e. DMC) overdyes are not colorfast and may bleed if steam is used, please use caution!

IMG_4094

5. Perfect!
IMG_4096