
DIFFICULTY LEVEL: Moderate
Supplies Needed:
Supplies Needed:
Stitched item
Complimenting Material for backing
Mat Board
Craft Glue
Spray Craft Glue
Large quadrant ruler
Cutting Board
Cotton Batting
Scissors
Mat Knife
Cording (handmade, purchased, etc.)
Step One:
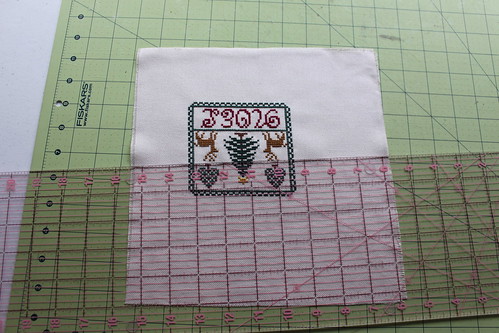
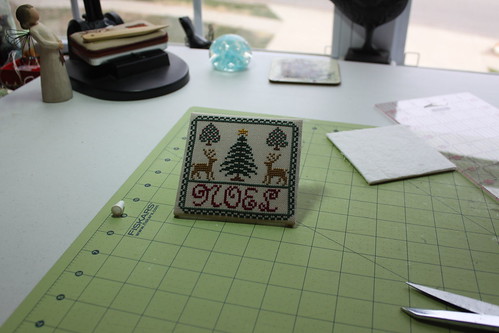
Determine what the size of your ornament shall be by measuring the size horizontally and vertically. Figure what your margin size will be and imagine how it will look, add the additional margin measurement to the size of the ornament measurement both vertically and horizontally. Write down these dimensions for use later.
Step Two:
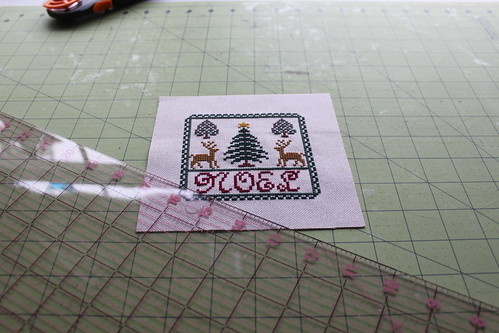
Trim your edges with a rotary cutter.
HINT: this will largely be decided by what your ornament deminsion will be (i.e. the border size) but trimming to 1" on all sides is usually a good start.
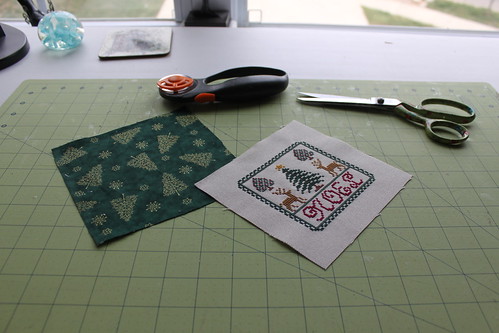
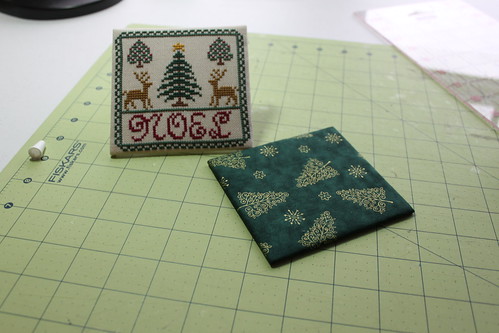
Step Three:
Cut a piece of complimenting material to size of your trimmed stitched piece.
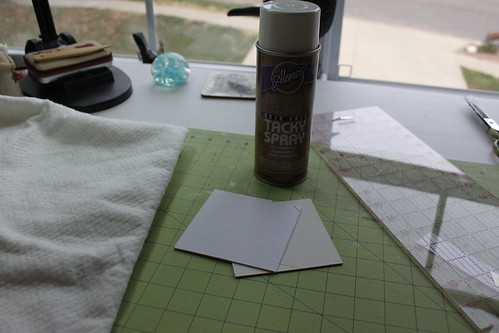
Step Four:
Using the dimensions you wrote down in Step One, cut out TWO pieces of mat board. Using spray craft glue, spray one side on each piece and press onto cotton batting. Trim the cotton batting on each edge to size of matboard.
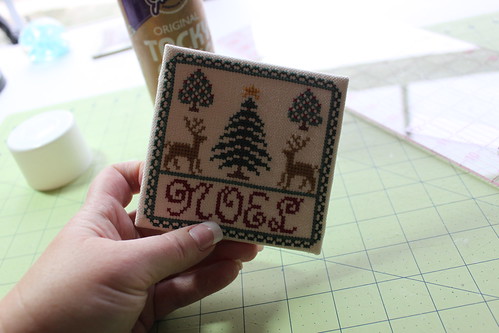
Step Five:
Mount stitched piece to one of the mat board pieces, with the cotton batting side to the stitched back. Glue back edges with craft glue. Do the same with the complimenting material on second mat board piece.
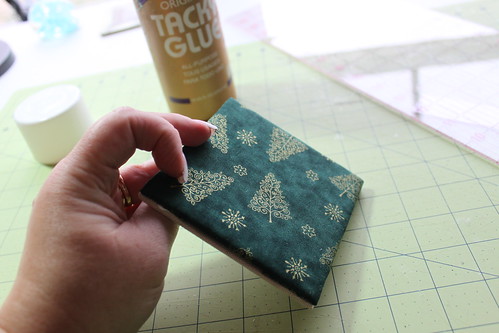
Step Six:
Spread craft glue around on backside of complimenting material square and sandwich the stitched square to the material square.
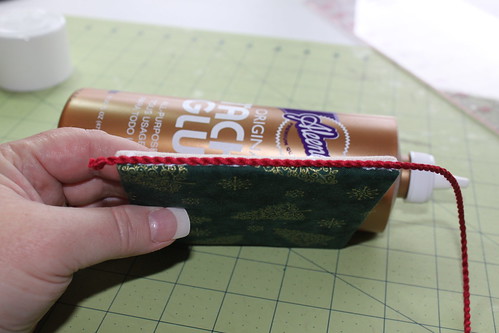
Step Seven:
After allowing to dry, lay a line of glue on your ornament side (one side at a time, paying attention to the corners) and lay your cording. Make your hanger to your preference, embellish to your preference and once complete set aside to dry.
Step Eight:
Enjoy your fabulous flat ornament!

Use my tutorials, copy my ideas, use my techniques, hints or tips? Please remember to give credit to my name: Vonna, The Twisted Stitcher ~ Thank you.