ALL of the content on this page is originated and authored by Vonna Pfeiffer, The Twisted Stitcher. These tutorials, tips and techniques are given freely for all to use. When using ANY part or piece of these tutorials in your own work, (i.e. if I have taught you to finish the item or part of the item) then crediting my name is the accepted way of "giving credit where credit is due". I expect nothing more than simple credit to my body of work. -------No part or piece of these pages and tutorials may be copied, printed or used in classes, videos, books, or any form of use for personal gain without explicit permission from the author.----- Thank you.

THIS BLOG is easily navigated. ALL tutorials are listed by kind: video OR written in the left side bar.

In some cases I have both written AND video tutorials, please either: use the SEARCH function - also found on the left side bar at top OR just simply look on the left side bar and scroll down to see all tutorials I have authored over the years. Thank you.

Friday, July 15, 2011

RickRack...

REMEMBER: attention to detail makes ALL. THE. DIFFERENCE.

Have you ever fretted over your polyester rickrack fraying? Fret no more:
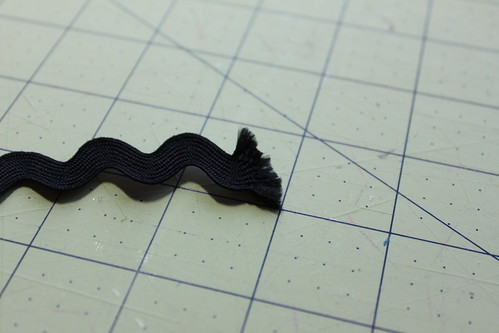
Step 1:
Take frayed end rick rack
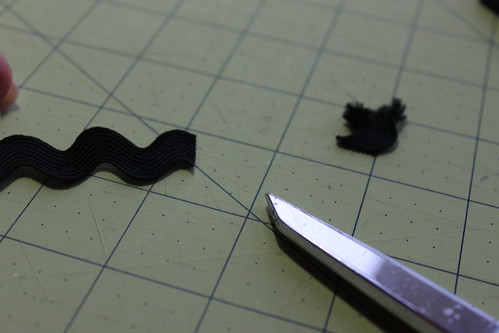
IMG_6350

Step 2:
clip off nasty frayed end
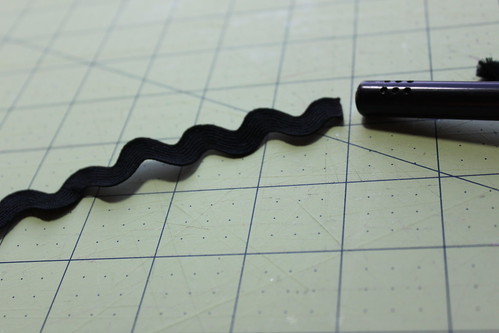
IMG_6351

Step 3:
take butane (grill or cigarette) lighter and burn end until slightly melted (PLEASE NOTE: MOST prepackaged rickrack available in sewing/craft stores is polyester. So please check prior to using this tutorial to make sure that your rickrack is polyester and not cotton)
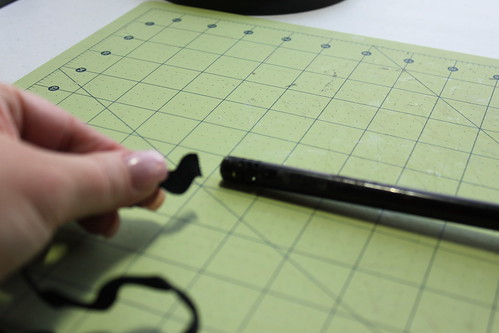
IMG_6353

IMG_6355

Step 4:
It will fray no more!
IMG_6354

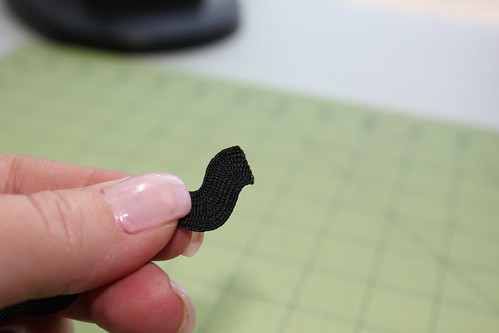
Clean, perfect rickrack edge = attention to detail = superior finish!

Use my tutorials, copy my ideas, use my techniques, hints or tips? Please remember to give credit to my name: Vonna, The Twisted Stitcher ~ Thank you.