
To finish a stitch peice into a box top the way I do it, you will need:
1.) Acid free mat board
2.) Cotton batting
3.) White Craft Glue (i.e. Aleene's Tacky Glue)
4.) Craft Spray Glue (i.e. Aleene's Tacky Spray)
5.) Scissors
6.) Rotary Cutter
7.) Large quadrant ruler and self-healing cutting mat
8.) Stitched piece
9.) Complimentary material
10.) Chenille trim* (handmade cording, braiding or other trim of finisher's choice)
*now widely available through on-line websites, hand-dyed floss manufacturers and many other locations.
11.) Box of choice (wooden, paper mache, etc)
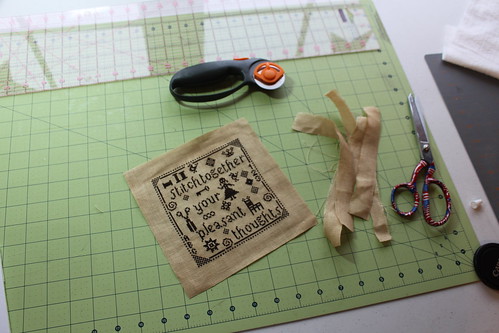
Step 1:
a.) Iron your stitched piece as discussed HERE
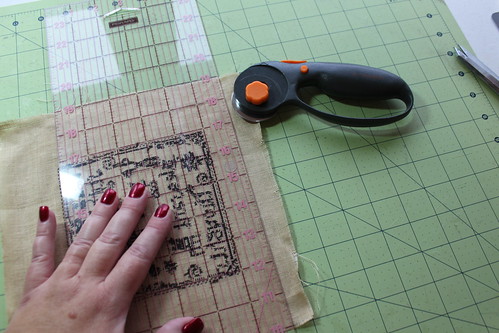
b.) On your cutting mat, measure the stitched piece both height and width.
c.) Decide what your margin will be (the space from the edge of stitching to the edge of the mounted piece).
d.) Write it down so that you don't forget.
e.) Then measure twice and cut once
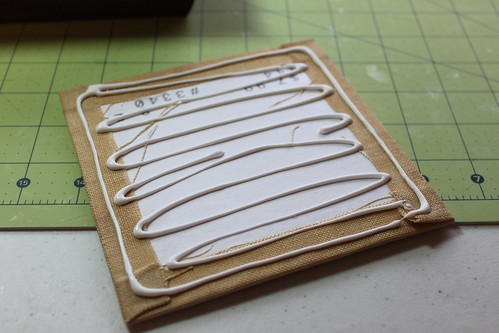
Step 2:
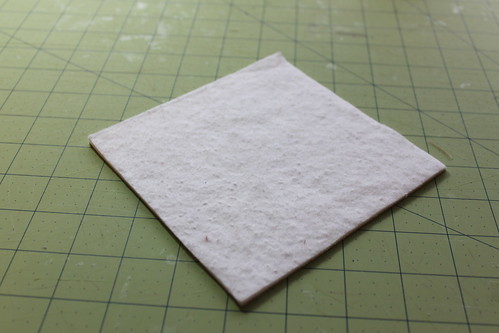
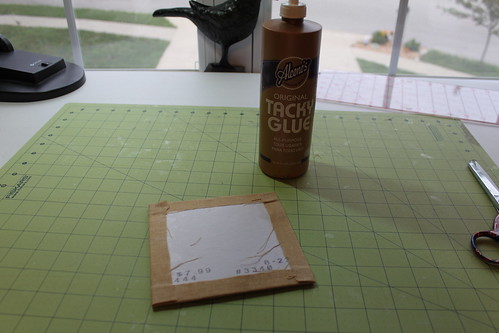
a.) Cut a piece of mat board to the exact dimensions that you wrote down in Step 1
b.) Spray the mat board with the craft glue spray
c.) Press (glue side down) onto cotton batting and trim to size
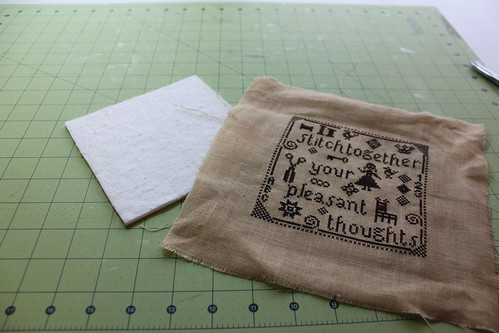
Step 3:
mounting the stitching...
a.) Now mount your stitched piece onto the mat board (there are various hints and tips about mounting found on The Flatfold tutorial found HERE )
b.) Once the stitched piece is mounted; set aside to dry a few minutes and move to Step 4.
Step 4:
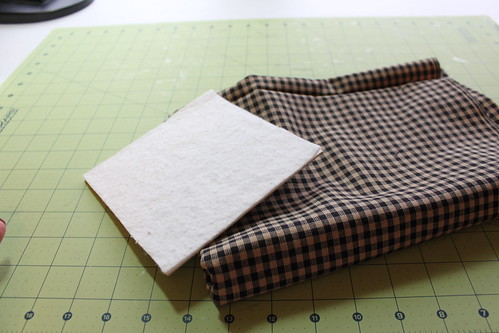
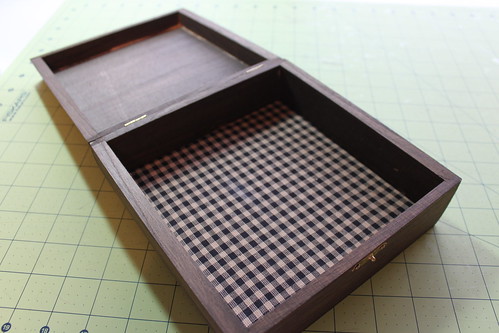
a.) Take the box that you plan on using and measure the inside bottom (and top if desired) of the box.
b.) Write the dimensions down
c.) Cut the mat board to size and try the fit in the box
NOTE: if the mat board does not fall (without your pushing) flat to the bottom of the box trim 1/8" off on the top side and one of the sides. Try the fit again and trim until the mat board falls straight to the bottom of the box without pressure. This will allow the board to fit when we have the lining material mounted on it.
d.) Once fit is perfect, spray with craft glue spray
e.) Press (glue side down) onto cotton batting and trim
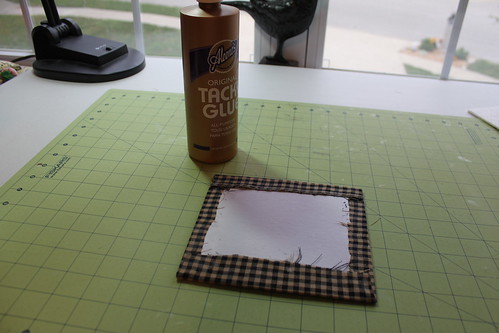
Step 5:
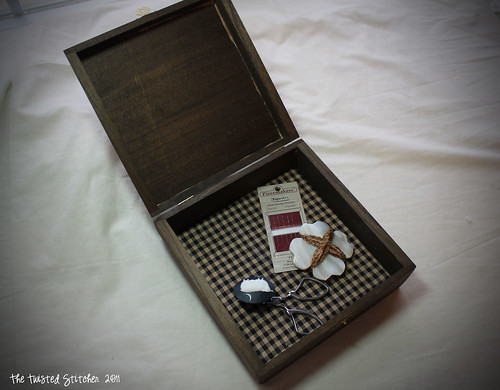
Lining the box....
a.) Take your complimentary material and iron it so that it is without creases and perfect
b.) Mount onto the precisely cut and fitted to your inside box bottom (and inside box top - if lining inside top too)
c.) Spread generously with glue on the backside of the complimentary material mounted piece and press into the bottom of the box (repeat if lining the inside top of the box)
d.) Make sure to spend some time pressing the lining into the box and making sure that it stays down *especially* in the corners.
NOTE: if glue shows around the edge of the piece, take a tool (i.e. screwdriver, knitting needle, etc) and clean the edges of the lining piece free of glue *wiping frequently on a tissue or paper towel* OR you can leave alone because if using Aleene's the glue will dry clear and will not really be noticeable.

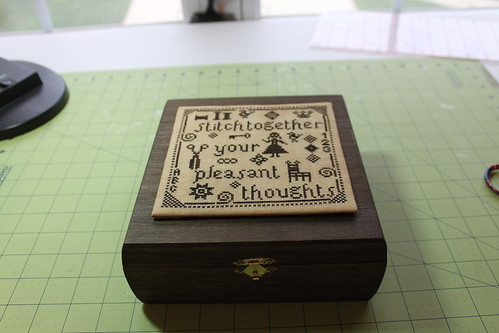
Step 6:
mounting the stitched piece to the box...
a.) Take the mounted stitched piece and generously spread with glue
b.) Center and press onto top of box
c.) Using your choice of pressure (I use an old milk crate filled with magazines), spend a bit of time pressing the mounted piece onto the top of the box so that all sides make contact and the piece is flat and adhered to the top.
Step 7:
adding the trim...
a.) Once the piece is mounted to your box and in place, run a thin line of glue around the edge of the stitching onto the box.
b.) Lightly press the chenille into the glue line and around the stitched piece making sure it is flush.
NOTE: I start my trim in the bottom middle area and all the way around the box counterclockwise. Once the chenille trim meets, put a tiny dot of glue on top of the end of the chenille trim layed down at the beginning, clip the meeting chenille end 1/8" past the meet spot and press into the glue dot.
c.) After about 15-30 minutes the chenille glue should be nearly dry, take a tooth brush and gently "fluff" the chenille with the tooth brush filling in any areas that may not be perfect, including the area where the ends meet - as this will allow meeting ends to totally disappear)
d.) Stand back and admire your box
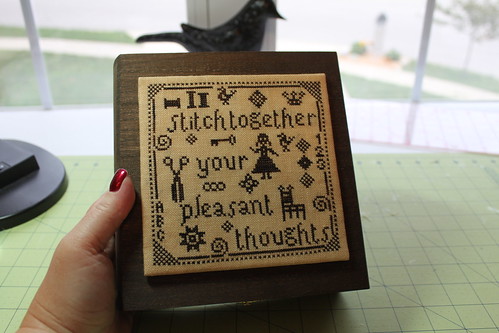

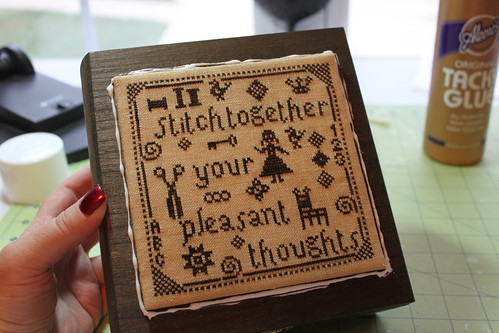
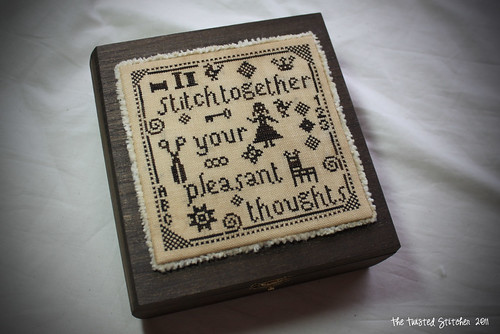
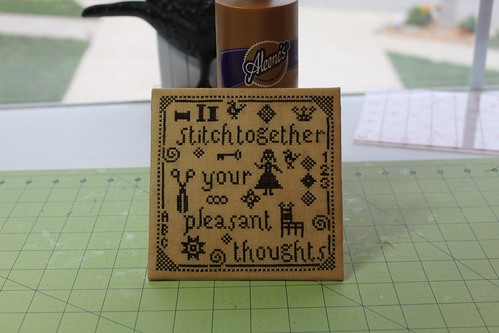
"Stitch Together"
Designed by: Tree of Life Samplings ~ Jan Alexander
copyright 2011