
Things you'll need:
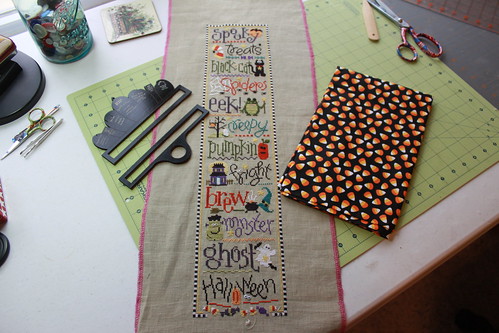
Bell Pull Hardware of some kind (the bell pull hardware that I am using is manufactured by Images Stitchery)
Stitched piece
Complimentary Backing fabric
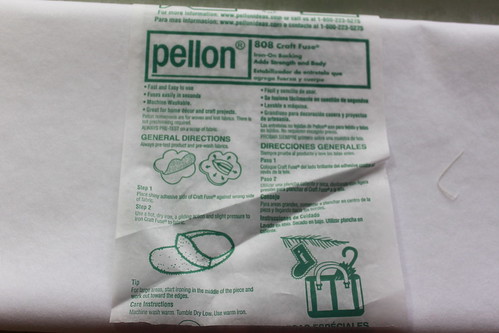
Fusible interfacing
Cutting mat
Rotary cutter
Large gridded measuring square
thread
needle
thimble
sewing machine
scissors
Step One:
Determine the width your bell pull will be. This will largely be determined by the width of your bell pull hardware. For my bell pull, I cut my top and bottom 2 1/2 inches from the edge of the design. (this gives about 1 inch margin for the top after attaching bell pull hardware (which will use up about 1/4" based on thickness of bell pull hardware), using a 1/4" hem thus leaving a 1 inch margin on the back.
*To determine your top and bottom margins, measure, step back and visualize how you want yours to look. Just remember to add in the 1/4 - 1/2 inch allowance for hemming and hanging on the bell pull.
My sides are cut 1 inch from the edge of the stitching, which translates into a 3/4 inch margin after sewing.
*NOTE* you'll have to determine your top/bottom/sides margins based on your piece. Don't cut yours to my sizes listed....they suit my hardware and my piece, you will need to determine your specifications based on your own project and bell pull hardware.

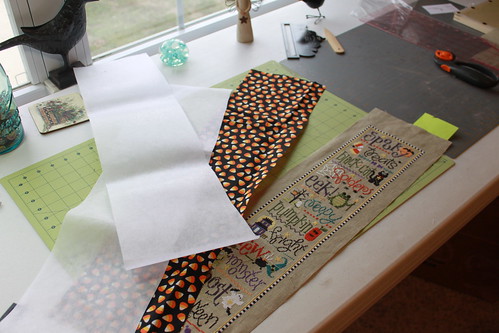
Step Two:
Cut out a piece of backing material to size of the stitched piece and two piece of fusible interfacing; one for the stitched piece and one for the backing material.
*Note* pictured below is the kind of interfacing I use for things that I want to hang straight, firm and give a little added structure and weight to the piece. This can be purchased at any fabic store.
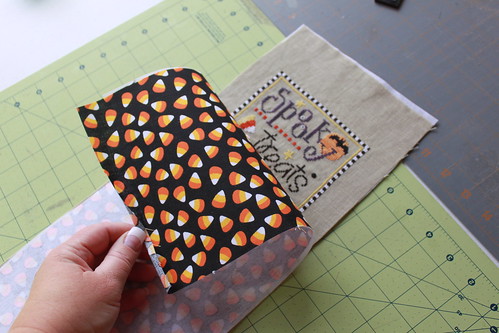
Step Three:
Iron your interfacing to the top and bottom pieces per directions of your interfacing. (Typically about 20 seconds on high heat from backside. No steam!)
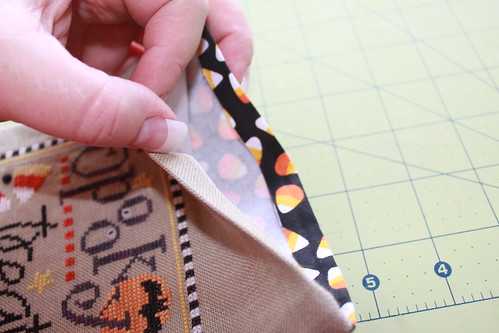
Next, with pretty sides facing, pin together to prepare for sewing.
Step Four:
Using 1/4 inch seam allowance, sew sides. Leave top and bottom unsewn. Turn out. Iron.

Step Five:
Fold over 1/4 inch for sewing, iron and then sew the top/bottom closed with a whip stitch.
*NOTE* this will be to the backside so it won't be seen, you can just use a whip stitch, however you can use a blind stitch too if you want it perfectly invisible, whichever you wish. I just used a whip stitch.
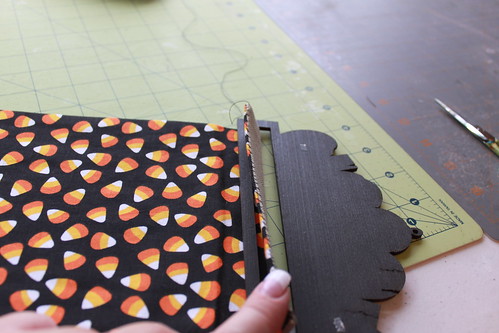
Step Six:
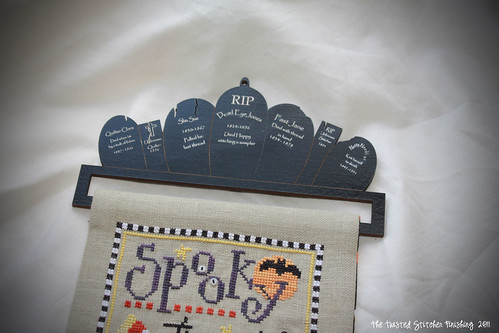
Fold over 1 inch; iron; then place hardware onto end; whip stitch to attach. Repeat for bottom. Once bell pull hardware is completely sewn on, cover with towel and iron the whole bell pull top to bottom - but not the bell pull itself as the finish will come off!
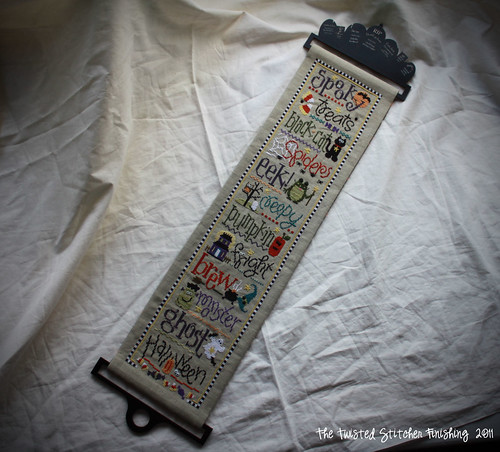
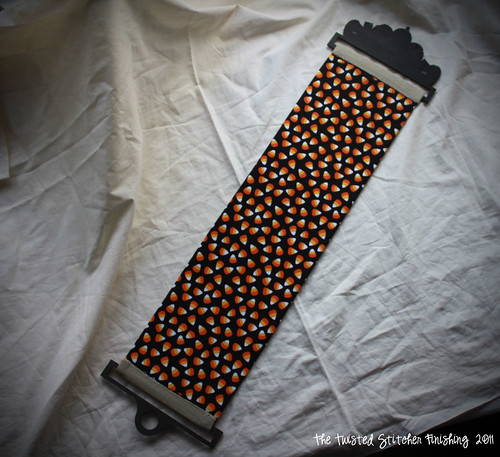
All done!
Use my tutorials, copy my ideas, use my techniques, hints or tips? Please remember to give credit to my name: Vonna, The Twisted Stitcher ~ Thank you.