Difficulty Level: Easy
ALL of the content on this page is originated and authored by Vonna Pfeiffer, The Twisted Stitcher. These tutorials, tips and techniques are given freely for all to use. When using ANY part or piece of these tutorials in your own work, (i.e. if I have taught you to finish the item or part of the item) then crediting my name is the accepted way of "giving credit where credit is due". I expect nothing more than simple credit to my body of work. -------No part or piece of these pages and tutorials may be copied, printed or used in classes, videos, books, or any form of use for personal gain without explicit permission from the author.----- Thank you.
THIS BLOG is easily navigated. ALL tutorials are listed by kind: video OR written in the left side bar.
In some cases I have both written AND video tutorials, please either: use the SEARCH function - also found on the left side bar at top OR just simply look on the left side bar and scroll down to see all tutorials I have authored over the years. Thank you.
Saturday, March 16, 2024
Tuesday, March 7, 2023
Tuesday, December 20, 2022
Tuesday, December 13, 2022
Wednesday, December 7, 2022
Tuesday, December 6, 2022
Monday, December 5, 2022
Thursday, December 1, 2022
Saturday, December 25, 2021
Recycled Cards - Christmas Ornament....
Recycled Cards - Christmas Ornaments
Difficulty Level: Easy
Items Needed:
Christmas Cards
(or any kind of cards - we save all the pretty tops of cards throughout the year to use)
Scalloped Circle cutter
(best sizes: 1.5 inches to 2 inches in circumference plus if the scallops along edge are in an a number divisible by 3 it is easiest: like 15, 18, 21, 24….)
Glue Gun
Something to score the cards
(like steak knife, scissors point, points turner, etc)
Ruler
Twine/ribbon/baker's twine for hanger
STEP ONE:
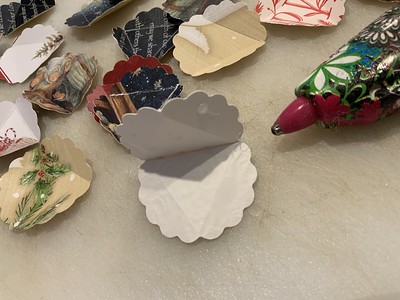
Cut circles from your cards - get a lot cut so you have a wide range of colors to pick from for scrappy ornaments
STEP TWO:
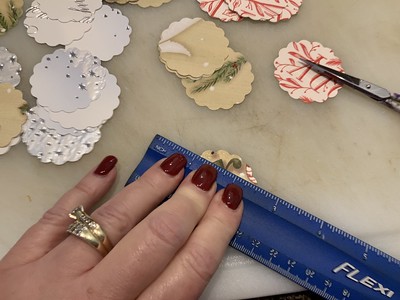
Using your ruler you are going to score the circles - here is where a circle with scallops divisible by 3 comes in handy. My cutter has 15 scallops that means I am going to score in 5 scallop increments as shown in following pictures:
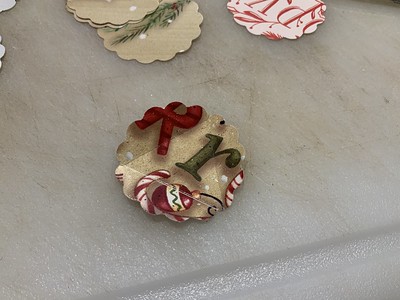
Score each circle three times in triangular shape as shown:
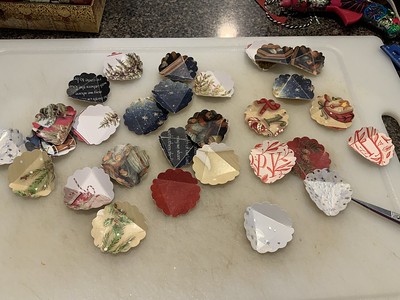
Score lots of circles as it will take 20 scored circles to make one ornament:
STEP THREE:
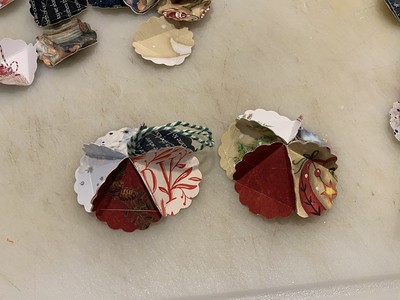
using your glue gun to glue together the scored circles build your top
You will do this by connecting 5 scored circles with all the triangle POINTS at the apex as shown below
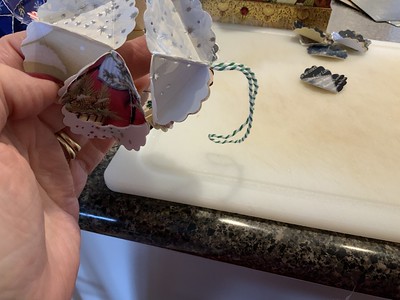
then tying a length of twine/ribbon glue into the top of the ornament with loop out the top as shown:
STEP FOUR:
Make a bottom same as the top, just glue the apex with a dot of glue rather than with a hanger coming out.
STEP FIVE:
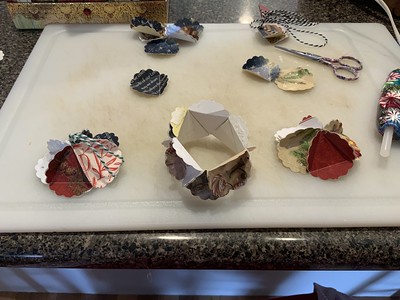
building the ornament center. You will need 10 scored circles. You will orient the scored triangles in opposite orientations as show below:
triangle point - flat side of triangle - triangle point - flat of triangle - continue until you have 10 circles connected
^-^-^-^-^-
then complete circle by joining ends:
STEP SIX:
join top, middle and bottom of ornament
to create your finished ornament - (you likely will have to go over the ornament after all is connected to glue together joining joints - this is normal and makes the sphere strong.)
STEP SEVEN:
Hang your sweet ornament on the tree
My girls and I have done this for years. We have them on our trees, we gift them to friends and neighbors with holiday treats....it is a lovely tradition and I love the look of them on our tree.
Just remember, smaller cut circles make smaller spheres, large cut circles make larger spheres.
You can see in this picture: we have spheres made from the same card and then we have scrappy balls made from many different cards. We also will "fussy" cut circles to make subject matter spheres: for example - all snowmen , all nativity, all stars, all snowflakes etc.
So save your cards and recycle them into beautiful Christmas tree ornaments!
Start your own post Christmas tradition!
Monday, March 15, 2021
Pillow with handmade piping:
Finish a pillow with handmade piping:
VIDEO TUTORIAL
Difficulty: Moderate
Please give credit where credit is due: Did you learn how to finish in this way from me? Then please credit my name when posting/sharing your finishes. Thank you.
Video Link: HERE
Sunday, February 14, 2021
Sunday, January 31, 2021
Tuesday, December 1, 2020
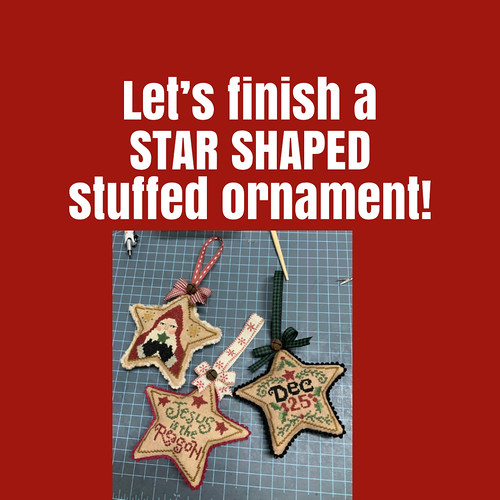
Star Shaped Stuffed Ornaments - Teresa Kogut Creative Whims
Sunday, November 29, 2020
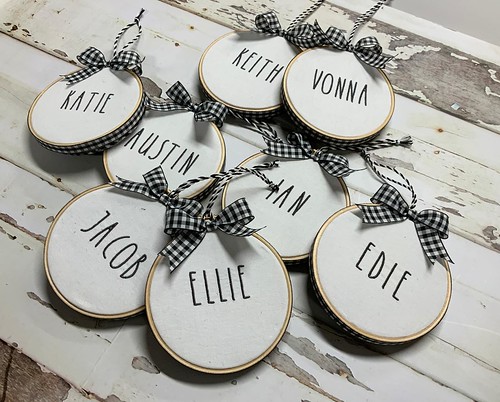
Hoop Ornaments - video tutorial
Difficulty Level: EASY
Please remember to give credit where credit is due. Use my tutorial, please mention my name: Vonna Pfeiffer so that others may find the tutorial to help them as well.
Hoop Ornaments Video Tutorial: HERE
Monday, January 20, 2020
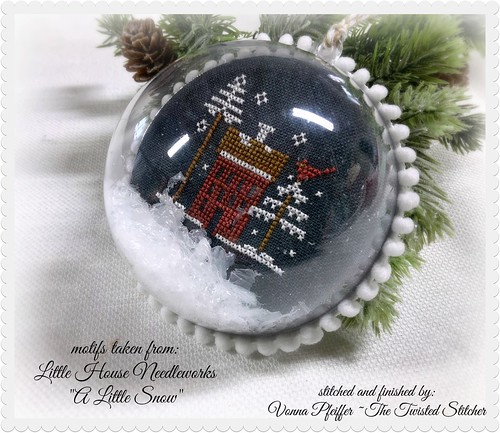
Snow Globe Ornament - VIDEO
Use my tutorials, copy my ideas, use my techniques, hints or tips? Please remember to give credit to my name: Vonna, The Twisted Stitcher ~ Thank you.
Sunday, December 29, 2019
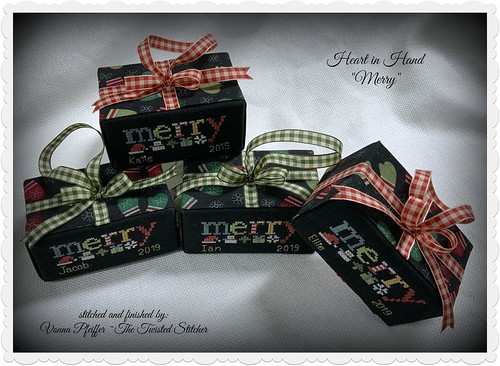
Package Ornament Finishing VIDEO TUTORIAL
Difficulty Level: EASY
Use my tutorials, copy my ideas, use my techniques, hints or tips? Please remember to give credit to my name: Vonna, The Twisted Stitcher ~ Thank you.
Package Ornament VIDEO: HERE
Remember to: Please give credit to my name if using my finishing techniques.
Thank you.
Remember to: Please give credit to my name if using my finishing techniques.
Thank you.
Friday, June 15, 2018
Tart Pan Finish
Difficulty Level: MODERATE
STEP ONE:
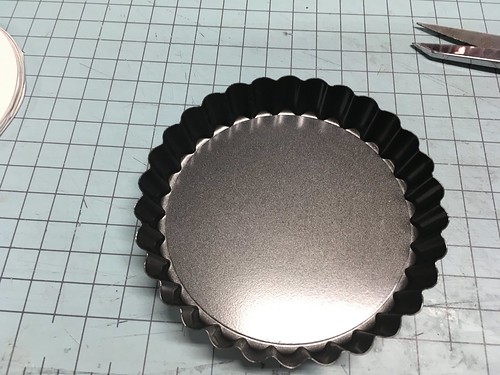
gather stitching and tart pan; separate the tart pan.
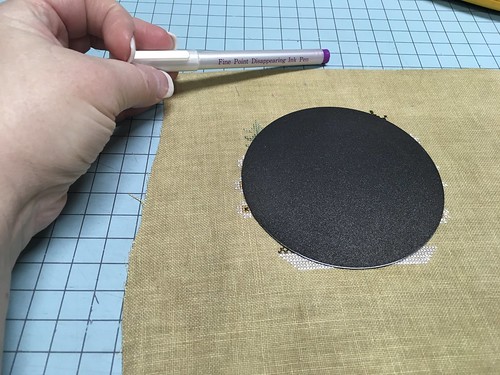
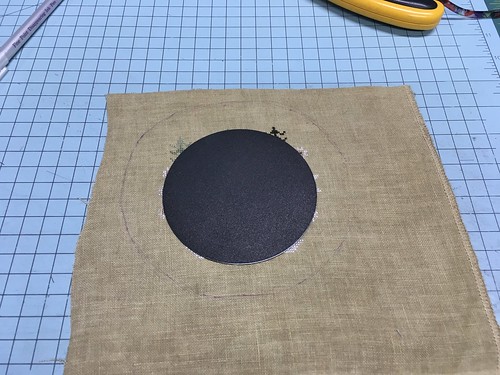
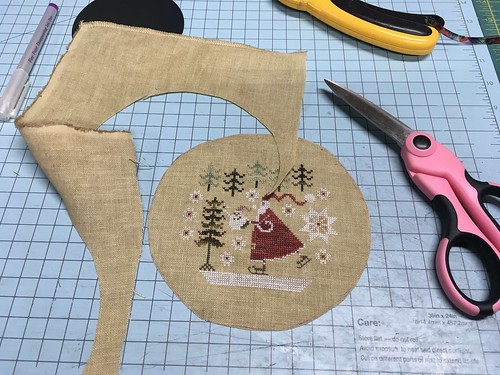
Place bottom on top of back of stitching, using a pencil or disappearing ink pencil, trace around the stitching leaving about 1 1/2 - 2 inches margins.
Cut Out
STEP TWO:
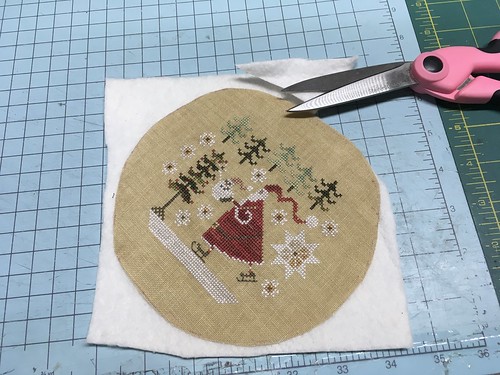
Layer cut out stitching piece on top of cotton batting, trim to size.
STEP THREE:
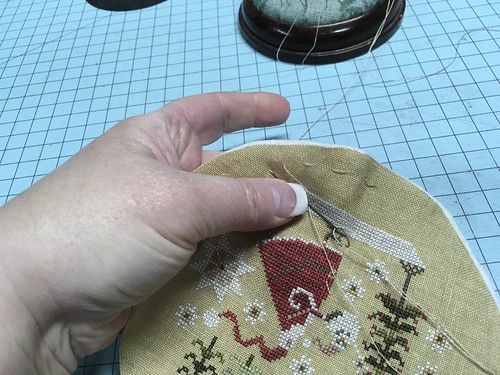
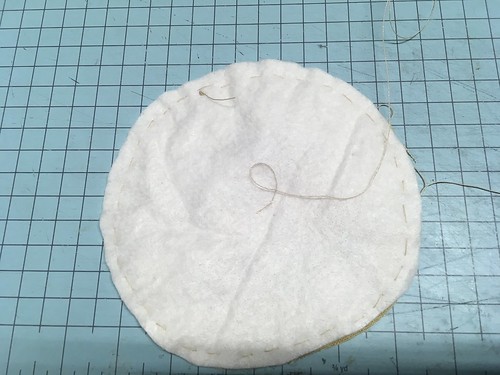
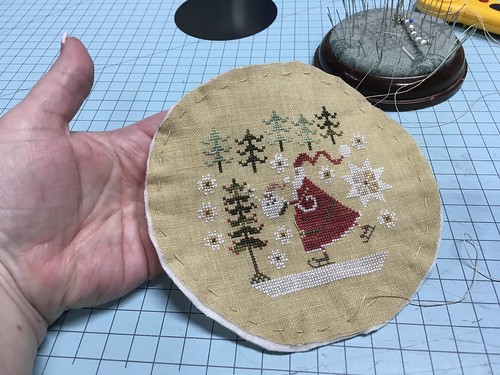
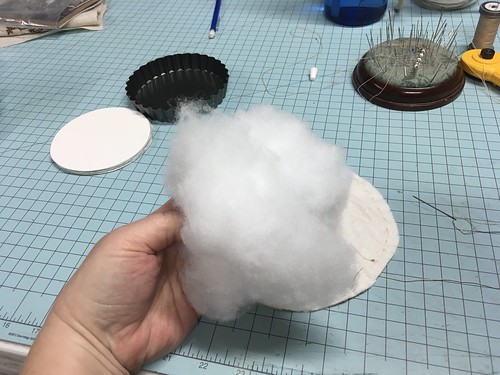
Using upholstery or heavy thread, make a running stitch around the outside edge of the stitching and cotton batting sandwich; then leaving needle attached, set aside.
STEP FOUR:
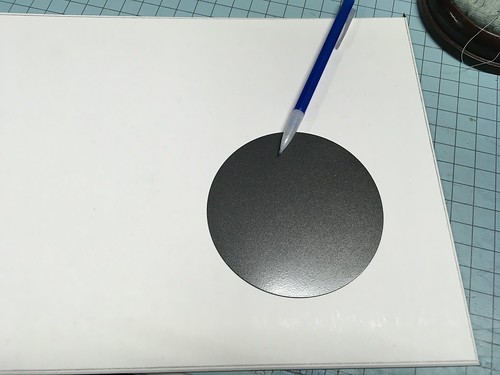
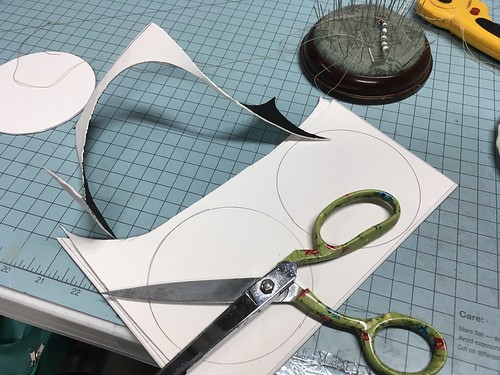
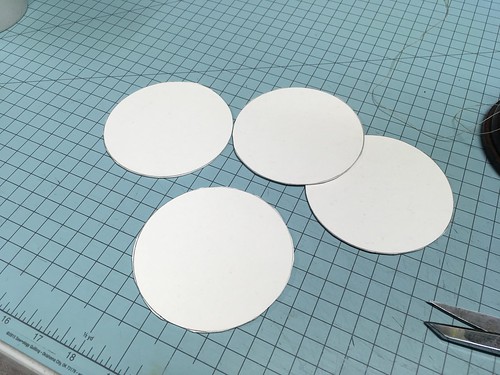
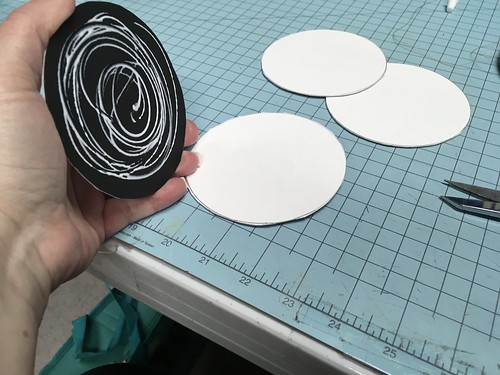
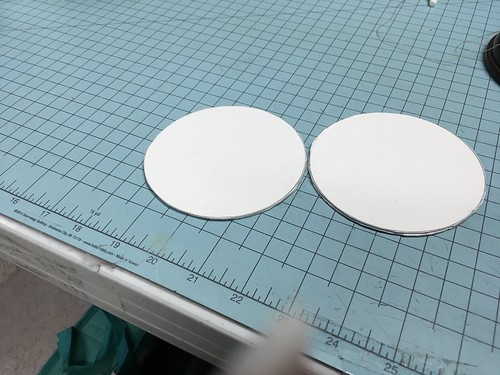
using the bottom of the tart pan, trace around bottom onto mat board - do 4 tracings and cut out.
STEP FIVE:
now using Aleene's Tacky Glue, glue two mat board circles together, making two sets of two mat board circles; set aside. We are using these later in the tutorial as "lift shoes" for our tart.
STEP SIX:
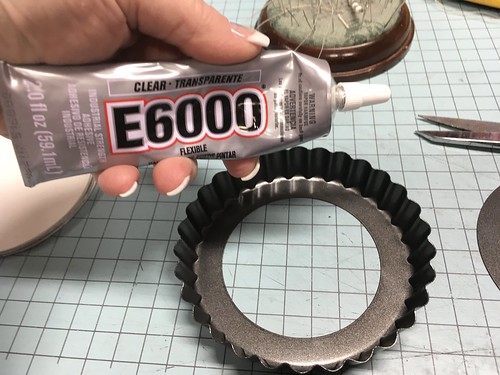
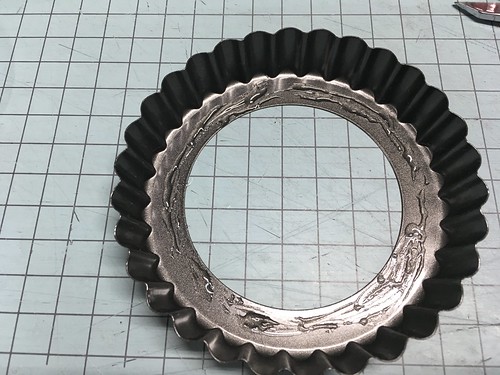
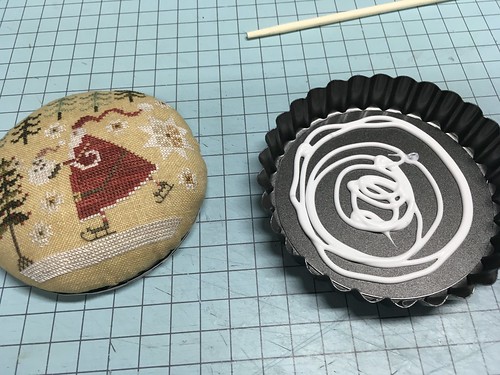
Using E6000, glue bottom into tart pan
STEP SEVEN:
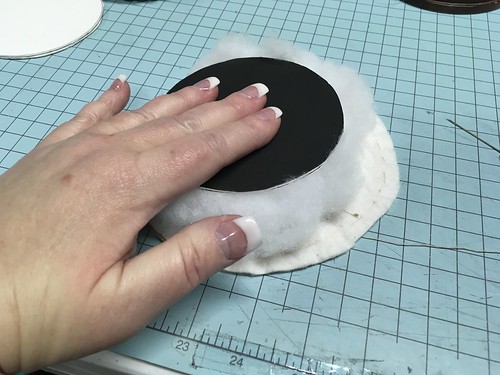
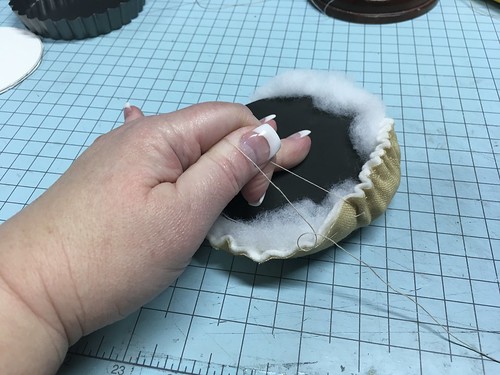
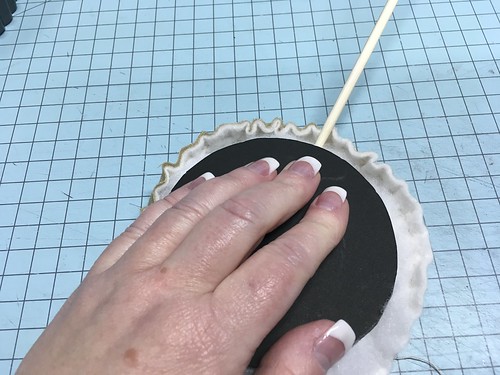
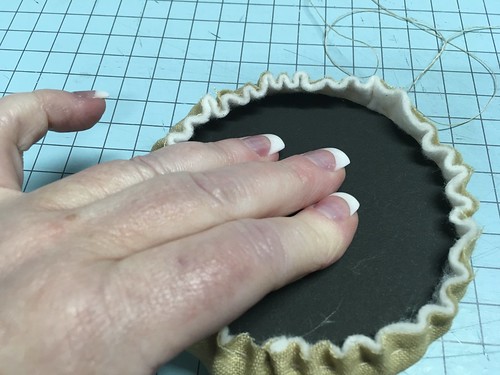
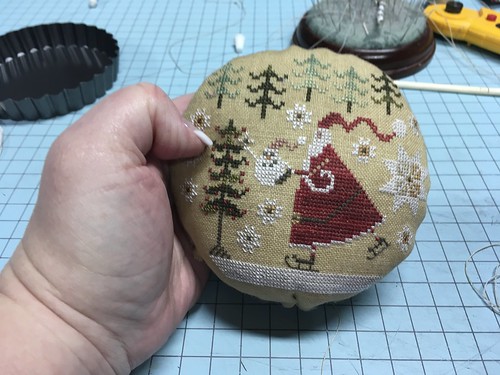
Now back to the stitching piece with the running stitch around the outside, pretty side face down, grab up a bunch of fiber fill (I prefer Mountain Mist) and wad it into a ball, place it onto of the cotton batting side and using a mat board couple, press down onto the stitching on top of the fiber fill, slowly gather up the running stitch, using a chop stick to stuff in the straggling fiber fill, pull tight; check the front of your stitching...does it need more fiber fill? Does it look round and full? If not or if there are wrinkles or waves, add MORE fiber fill until you have a smooth, plump round looking stitched piece. (see photos that follow in sequence)
STEP EIGHT:
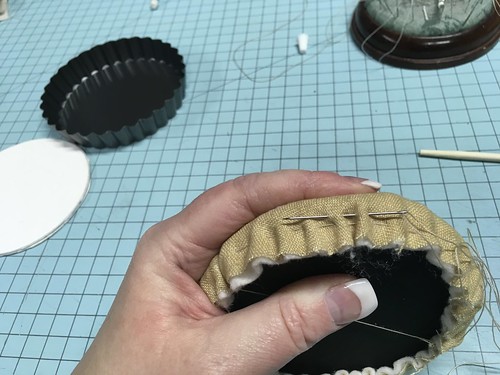
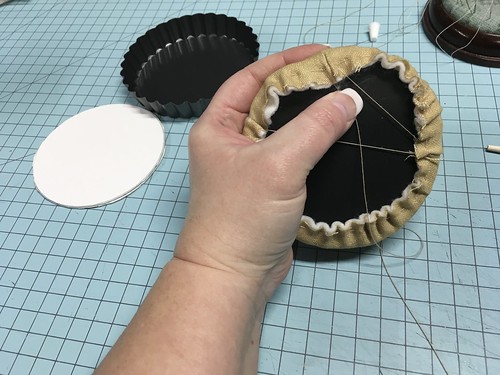
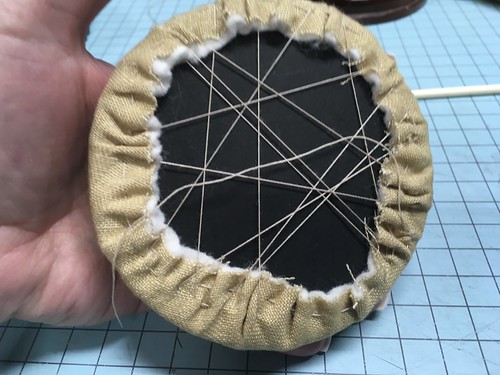
Once your are satisfied that your tart is nice and smooth and plump begin to lace your piece back and forth side to side to pull on all sides to secure. (see photos in sequence to get the idea)
STEP NINE:
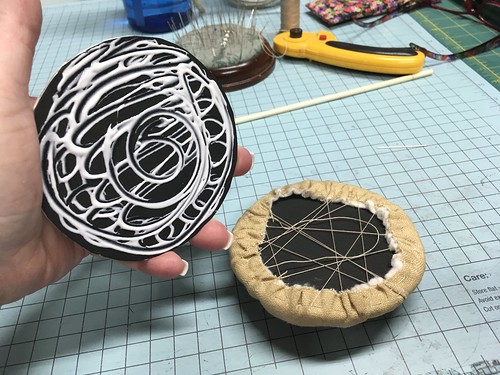
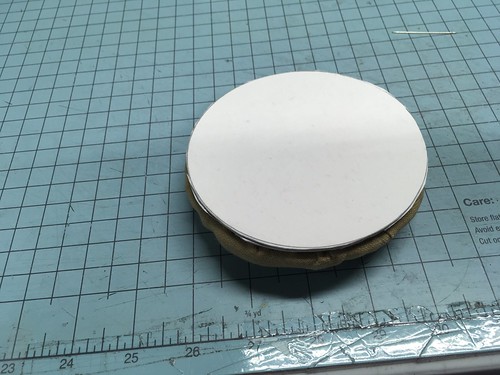
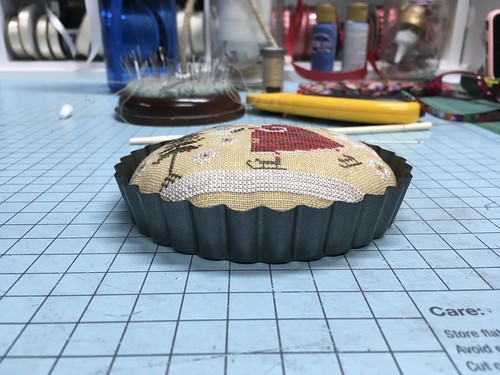
take remaining mat board pair, smear glue on one side and place on the backside of the tart (as shown in pictures that follow) this mat board pair acts like lifts in the tart to make it stand above the rim like heel lifts in the shoes :)
STEP TEN:
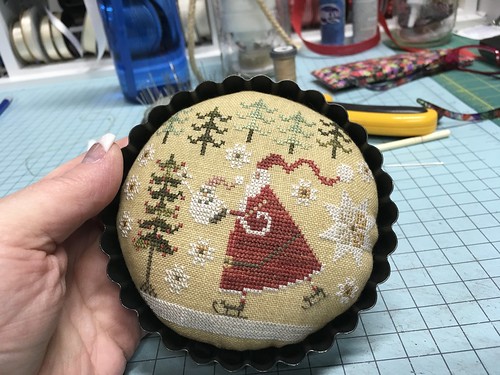
Spread glue in bottom of pan, place stitching inside (mat board side down).
You may want to place a book on top for a few minutes so that all surface area touches pan bottom and makes contact with glue.
Admire that tart!
Use my tutorials, copy my ideas, use my techniques, hints or tips? Please remember to give credit to my name: Vonna, The Twisted Stitcher ~ Thank you.
Subscribe to:
Posts (Atom)


