
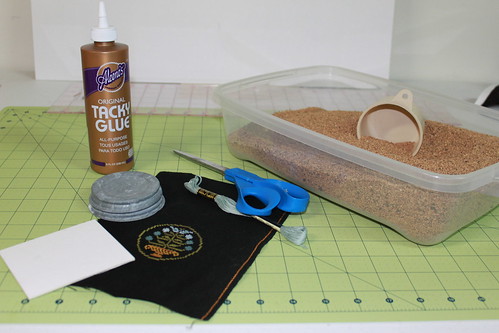
Gathering the finishing supplies:
1. Stitched piece (or material if you are making a non-stitched pincushion)
2. Base (I chose an antique Zinc Ball Canning Jar lid as called for in the pattern by Theresa Venette of Shakesphere's Peddler - she gets all the credit for incorporating the Zinc Ball Jar Lid - it is AN INGENIOUS idea! However, this same idea can be translated into many different things: a paper mache box, small basket, old measuring cup, wooden base, old tea cup - any thing can be used as the base for your pincushion and I've made pincushions using each one of these items. They are cute, folksy and a wonderful presentation!)
3. Crushed Walnut Shells (found in a pet store - sold in small to large bags as "bird litter" or "lizard litter")
4. Tacky Glue and a Glue Gun
5. 6 strand DMC embroidery floss (for sewing and for making cording)
6. Scissors
7. Fusible interfacing
8. Scrap mat board
9. Pen or Pencil and a marking pencil
STEP ONE:
Draw a circle around the design that is about 1.5 -2 inches larger (from the edge of stitching)
 Taking your piece of mat board place on flat surface, place your base on top and trace the shape of the bottom of the base onto the mat board
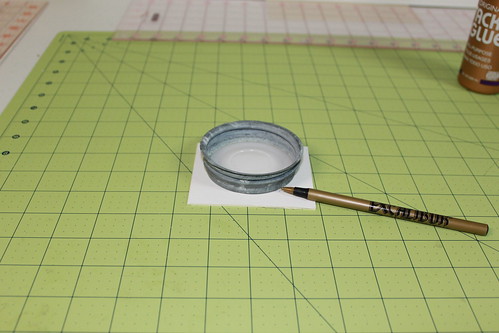
Cut out both pieces, make sure that the mat board piece will fit into the base easily, if not trim some off all the way around. It does NOT have to be perfectly circular, just close.

STEP TWO:
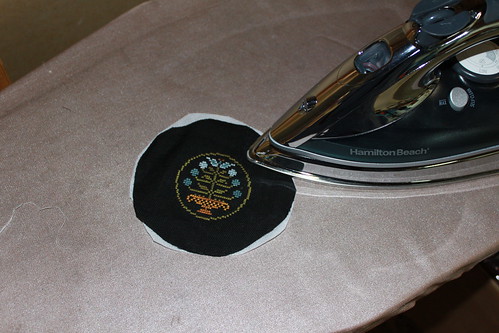
Cut out interfacing to match the size of the stitched fabric and iron on (I use light weight craft fusible interfacing made by pellon). I believe this to be a necessary step because it gives stability to the piece and also holds all the crushed walnuts inside (they don't work out of the weave of the linen).
STEP THREE:
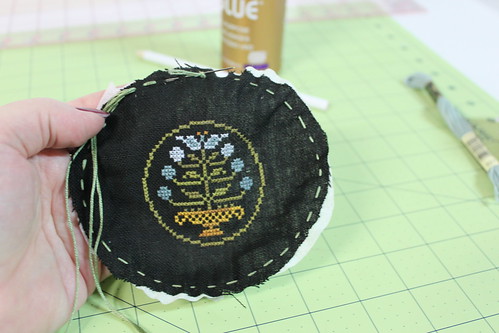
taking all 6 strands of a length of DMC Floss, thread a Chenille needle (or large eye needle) and make a running stitch 1/4 inch from the edge all around the entire piece.
STEP FOUR:
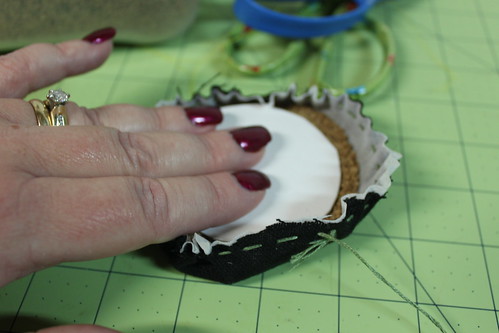
Lay the piece face down onto a flat surface, place a scant 1/4 cup of crushed walnuts on top of the interfacing (if it is too much you can let some out as your work your piece together), place the circle of mat board down on top of the crusted walnuts, hold down the whole pincushion sandwich and start to pull gently on the end of the floss as shown below:
Lay the piece face down onto a flat surface, place a scant 1/4 cup of crushed walnuts on top of the interfacing (if it is too much you can let some out as your work your piece together), place the circle of mat board down on top of the crusted walnuts, hold down the whole pincushion sandwich and start to pull gently on the end of the floss as shown below:

STEP FIVE:
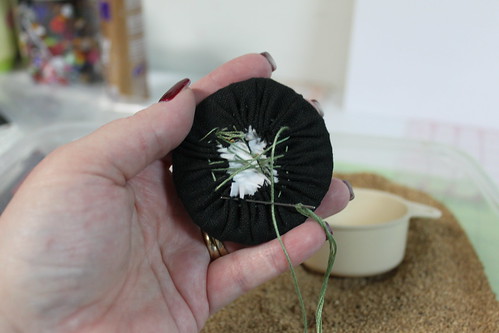
Lace around the bottom back and forth from each side to give a little shape to the pincushion, as shown, then end off. *HINT* sort of mold the walnut shells around inside the pincushion to make the perfect dome shape PRIOR to ending off.
Lace around the bottom back and forth from each side to give a little shape to the pincushion, as shown, then end off. *HINT* sort of mold the walnut shells around inside the pincushion to make the perfect dome shape PRIOR to ending off.
STEP SIX:
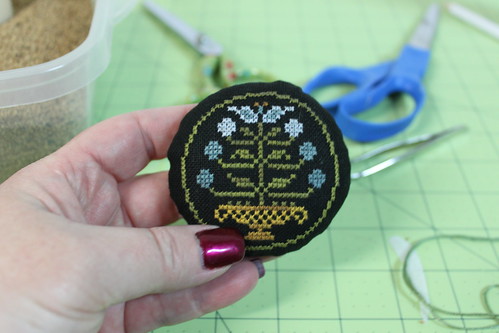
Get your hot glue gun and put some glue in the bottom of the base. Then fit the pincushion part into the base part.
Get your hot glue gun and put some glue in the bottom of the base. Then fit the pincushion part into the base part.

STEP SEVEN:
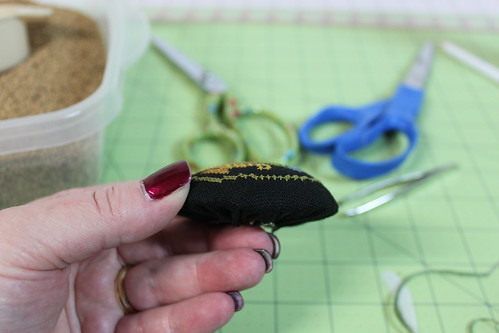
Make some cording out of a coordinating color, lay a thin line of glue around the edge of the pincushion and using tweezers, gently place and tap down the cording until it lays perfectly and you have a beautiful pincushion of your own to admire and love :o)
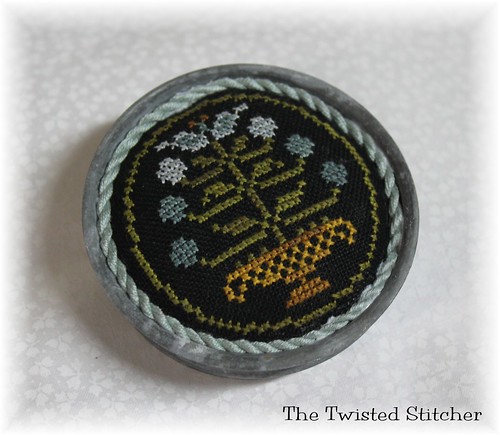
Use my tutorials, copy my ideas, use my techniques, hints or tips? Please remember to give credit to my name: Vonna, The Twisted Stitcher ~ Thank you.