
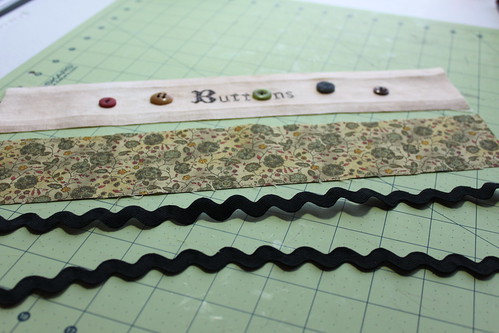
Items you will need:
1.) stitched piece and coordinating backing material
2.) velcro
3.) large button that coordinates with project
4.) coordinating rickrack
5.) sewing machine and/or needle and thread
6.) mason jar
Step 1:
Trim linen to 1/2 inch on top and bottom from the edge of your stitching. (note: side length will be determined by the circumference of your jar - see steps below)
a.) take the jar that you are going to use for the button wrap and measure its circumference - write the dimension down.
b.) translate this to the width of your stitched piece adding an extra 1/4 inch to both sides for end seams
c.) trim the sides to the size determined
Step 2:
cut your backing material to exact size as your trimmed stitched piece
Step 3:
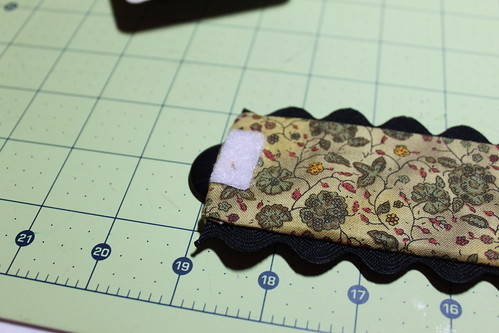
Cut two pieces of rick rack (I used wide sized rickrack) to exact width size of your button wrap. Make sure your rickrack won't fray by using this technique
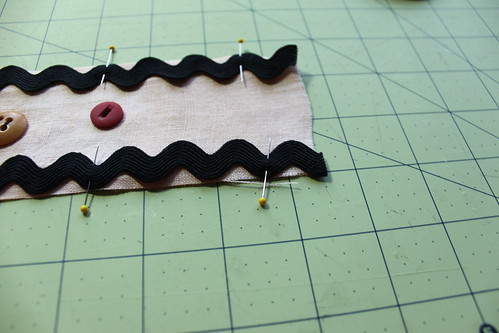
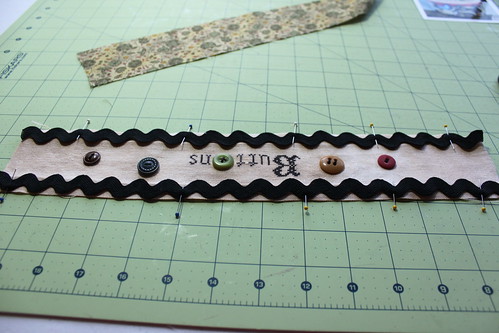
Step 4:
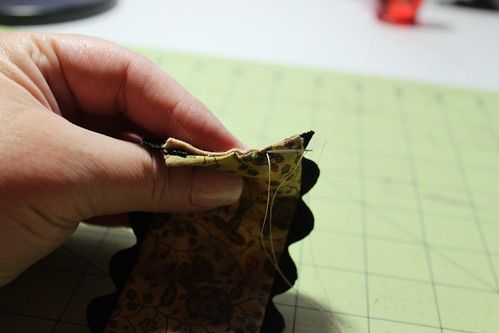
Pin the rickrack to the front side of the button wrap making sure that the "waves" of the rickrack will run along the cut edge(s) of the button wrap. Do this for the top edge and the bottom edge as shown below:
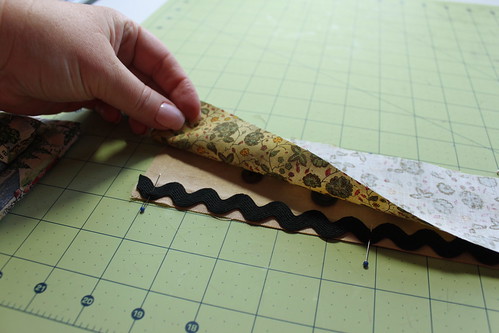
Step 5:
Place the coordinating backing material face down (right sides facing) onto stitched piece
Step 6:
Sew using 1/4" seam allowance along the top edge and the bottom edge; this leaves both ends open.

Step 7:
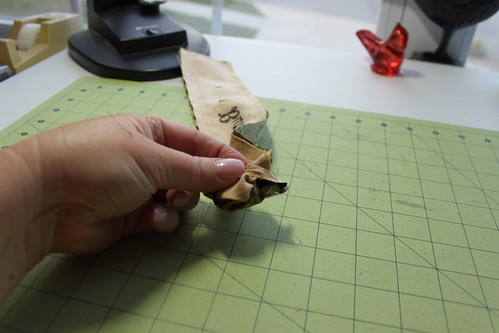
Turn out and iron
Step 8:
Fold ends under (into inside); finger press and blind stitch closed.
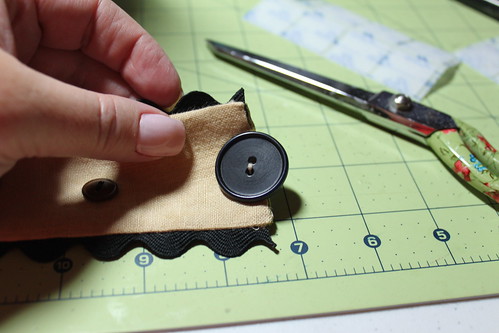
Step 9:
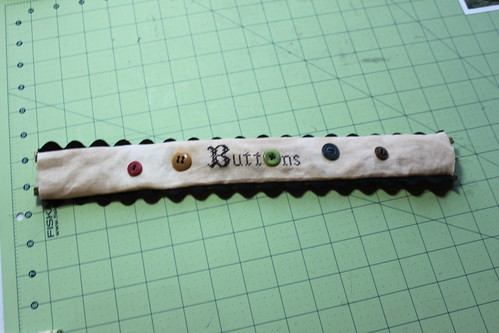
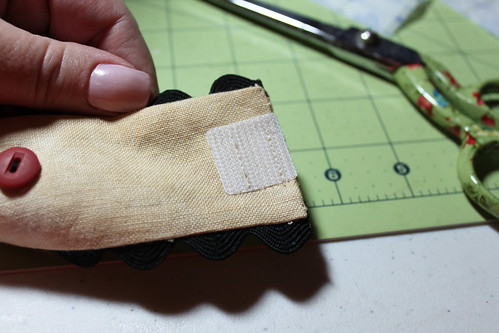
Sew on velcro by placing square on top - linen side (right side of button jar wrap) and the other square on the backing material side (wrong side of button jar wrap). Sew the large button on linen side (on top of) the velcro to "hide" it and make it look like it is buttoned on the jar.
The Jar Wrap:
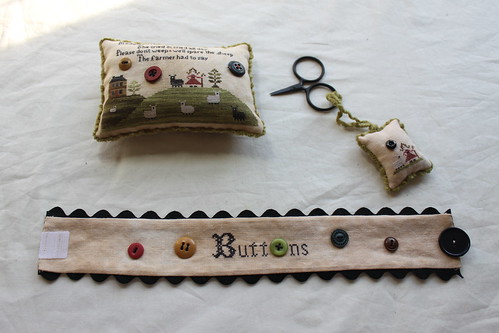
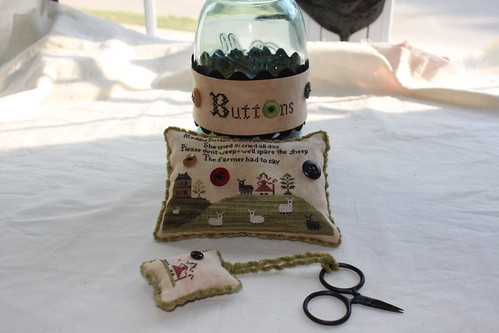
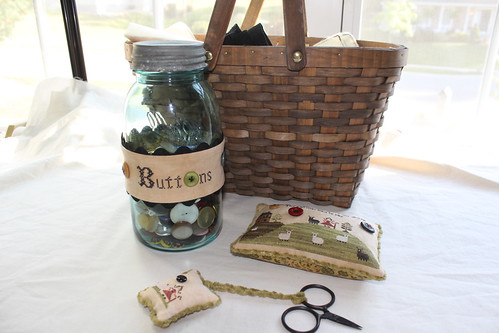
"Maddie Button Set"
Designed by: The Scarlett House ~ Tanya Brockmeyer
Copyright 2011
To learn more about Tanya, see more of her designs and learn where to purchase them, please visit The Scarlett House
*Please see my other tutorials located on this blog to learn how to finish the Pin Cushion and the Fob*
Use my tutorials, copy my ideas, use my techniques, hints or tips? Please remember to give credit to my name: Vonna, The Twisted Stitcher ~ Thank you.