

DIFFICULTY LEVEL: EASY
WHAT YOU WILL NEED:
2 pieces of felt
Cotton Material
Straight Pins
Sewing Machine - with thread
Points Turner
STEP ONE:
Choose 2 pieces of regular felt from the craft store
I left mine the same size as they come in which is roughly 8 1/2 x10 inches.
If you need significantly smaller than cut them to the dimensions you need, however, the size they come in fit small and large head magnifiers - Keep it simple!
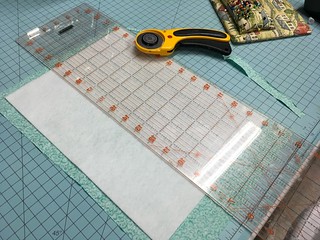
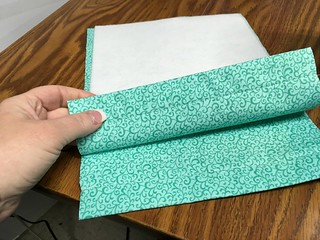
STEP TWO:
choose the cotton fabric you would like your magnifier cover to be in and cut it 1/8 inch larger on the top and sides of the felt piece, leaving 1 1/2 inches of fabric on the bottom.
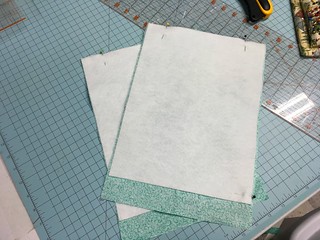
STEP 3:
pin the felt to the cotton fabric
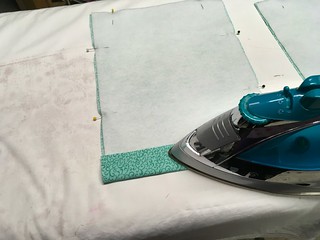
STEP 4:
Fold over the 1 1/2 inch end of fabric over the top of the felt and iron into place.
STEP 5:
Pin the ironed bottom into place.

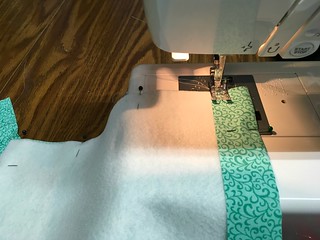
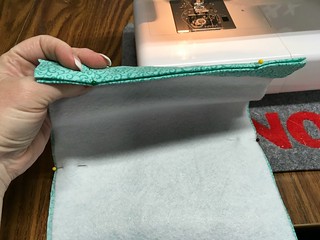
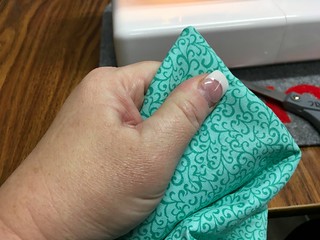
STEP 6:
Go to sewing machine and sew along the edge of the folded end.
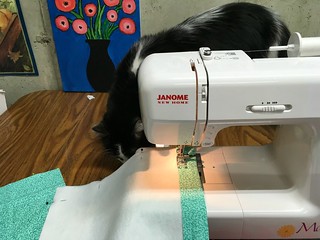
STEP 7:
Have the SNOOPERVISOR make sure all is lined up correctly :)
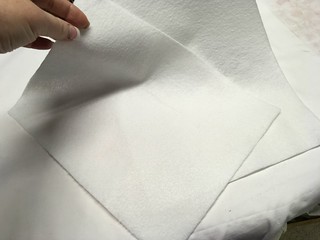
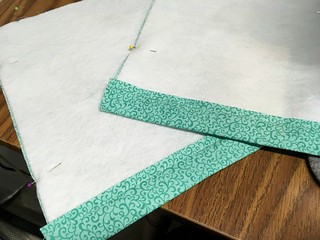
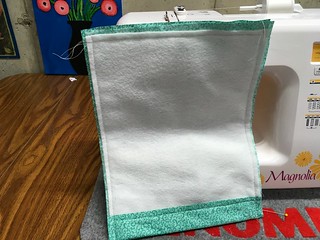
when sewing is completed it will look like this:
STEP 8:
Line up the edges pretty sides together...
Pin into place:
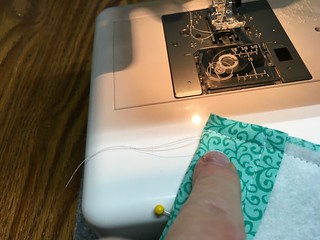
STEP 9:
Sew sides and top - DO NOT SEW BOTTOM OPENING!
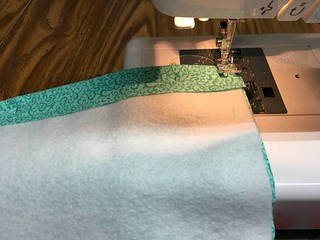
*hint* at the beginning corner, sew a few stitches forward, then a few stitches in revers (going back over the few forward stitches) to lock the stitches and reinforce edge.
at the end of the side...run the stitches right off the edge of the fabric, cut threads, turn, load up and stitch along top of cover sewing right off the edge again, cut threads, turn and sew along the side of cover, reinforcing the last corner seam on the edge as shown above at the beginning corner.
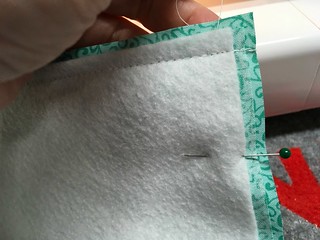
Here is what it looks like when you are done sewing together:
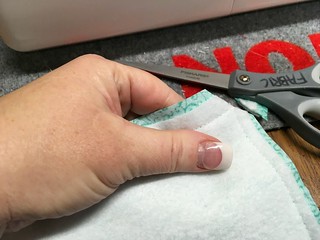
STEP 10:
Clip thread tails.
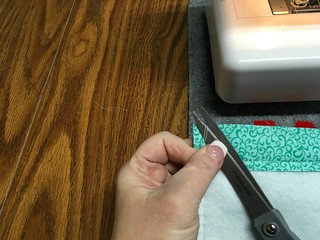
STEP 11:
Clip Corners.
STEP 12:
Turn Out

STEP 13:
Take your points turner tool and poke out the corners until very pointy and crisp.
YOU know how I feel about crisp corners!

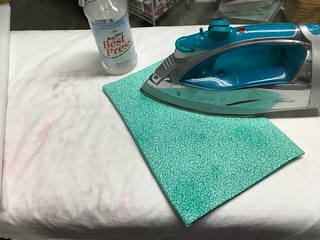
STEP 14:
Take the cover to the ironing board and Best Press the heck out of it with a hot iron.
Take the cover to the ironing board and Best Press the heck out of it with a hot iron.
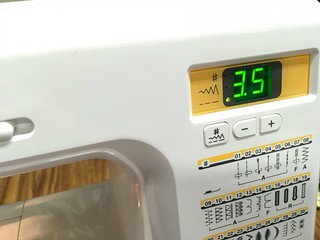
STEP 15:
Go back to sewing machine and lengthen your stitch.
WHY?
Because we are sewing through a lot of layers and lengthening the stitch allows the feed dogs (that grab the fabric underneath) to run a bit smoother pushing the layers of fabric through easier.
*OR if you have a walking foot use it! I have one and use it with larger projects, but my machine is superior with thick layers...one of the things about this machine that I love!
My Machine? you ask: Janome Magnolia 7330 - I have two of them. I LOVE them!
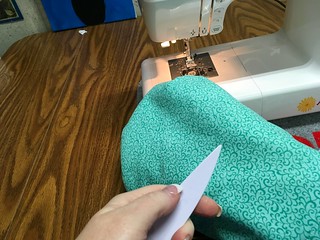
STEP 16:
We are going to top stitch the cover to make it not only pretty, but doing this will make it durable and hide our raw edges - this is called "French Seams". Load up your machine and start sewing.

*hint* when you get the corner, STOP about 1/8 of an inch from edge, turn and then line up your presser foot and sew along top edge...DO NOT run off the edge of the fabric.
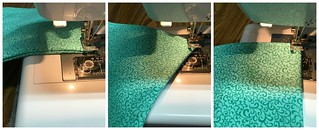
When you are all done the cover looks like this:
*hint* don't forget to clip your thread tails!
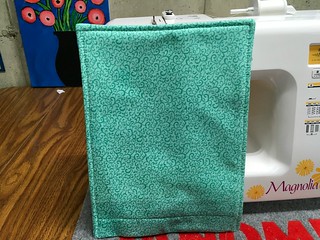
Here is the inside :)

STEP 17:
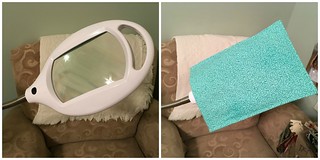
Cover your magnifier head...now it's all protected!
USE it when you are done stitching EVERY day!
STEP 18:
CELEBRATE! You did it!

Use my tutorials, copy my ideas, use my techniques, hints or tips? Please remember to give credit to my name: Vonna, The Twisted Stitcher ~ Thank you.