
DIFFICULTY LEVEL: Moderate
Items you will need:
Items you will need:
1.) stitched piece and coordinating material
2.) trim: chenille, cording, braiding, etc.
3.) filling: walnut shells (sold as bird/lizard litter), polyfill, polypellets, etc.
4.) sewing machine and/or thread and needle
Step 1:
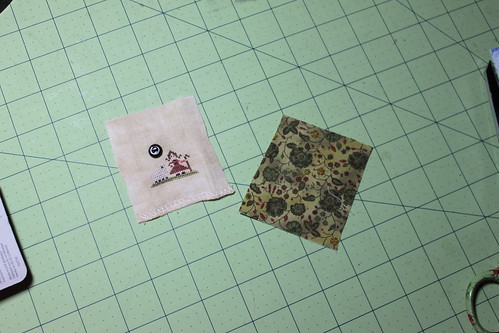
Trim linen to 1/2 inch on all sides from the edge of stitching and cut a piece of coordinating material to exact size as trimmed stitched piece.
Step 2:
Pin the two pieces together; right sides together.
Step 3:
Using a 1/4" seam allowance sew together leaving about a 3/4" space on the bottom for turning.

Step 4:
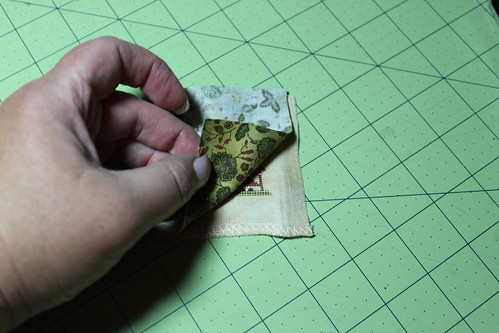
Clip corners (diagonally close to seam, but not INTO seam), then turn out.
Step 5:
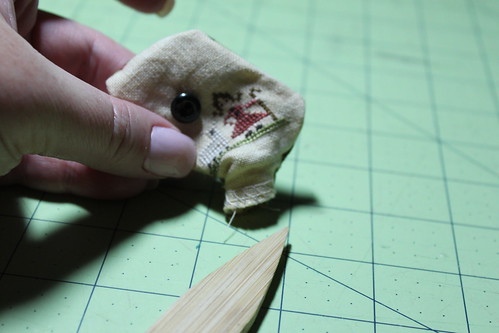
Use a corner tool to gently poke out the corners.
Step 6:
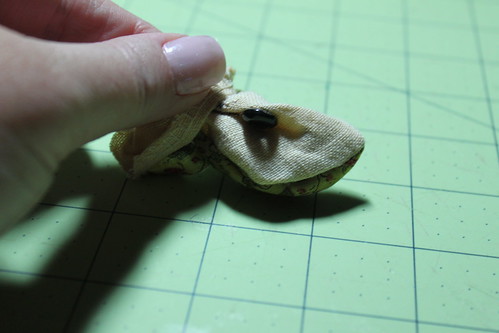
Fill with crushed walnuts (or filling of choice), fill until firm.
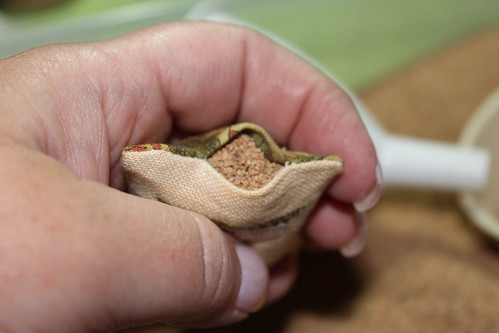
Step 7:
Blind stitch opening closed.
Step 8:
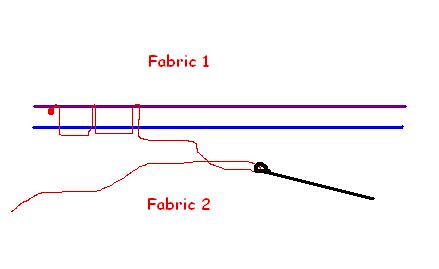
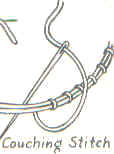
Couch chenille trim see diagram (or trim of choice) along the seam; at the top of the fob; make a loop for connecting the fob to your scissors (keep it short), tie a knot and scoot down until it is nestled against the fob, tack in place; continue couching chenille (or trim of choice) until the ends meet, then clip and end off. Use a tooth brush to gently "fuzz" up the chenille to make it fuller and to also help the clipped ends to disappear.
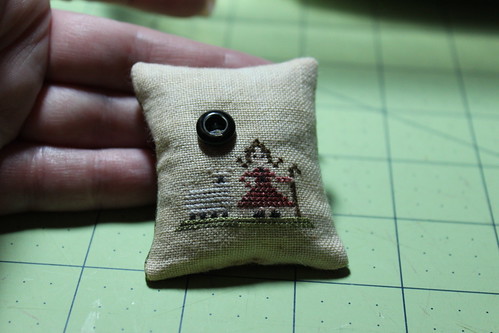
The Finished Fob:
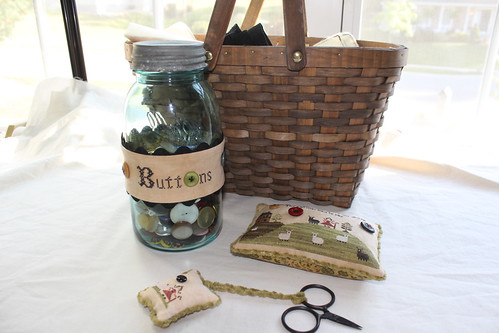
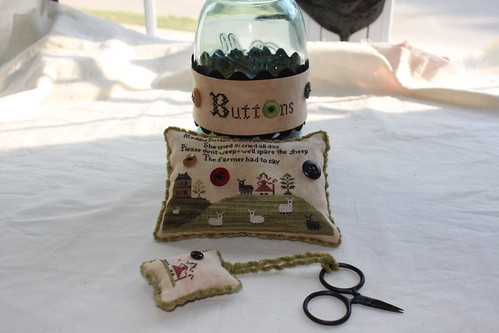
"Maddie Button" Fob and Set
Designed by: The Scarlett House ~ Tanya Brockmeyer
Copyright 2011
*You may learn more about Maddie Button, about other wonderful designs put out by Tanya and where to purchase them at The Scarlett House
*Please see the other tutorials located on this blog for The Pin Cushion and the Button Jar Wrap*
*Please see the other tutorials located on this blog for The Pin Cushion and the Button Jar Wrap*
Use my tutorials, copy my ideas, use my techniques, hints or tips? Please remember to give credit to my name: Vonna, The Twisted Stitcher ~ Thank you.