
Difficulty Level: MODERATE
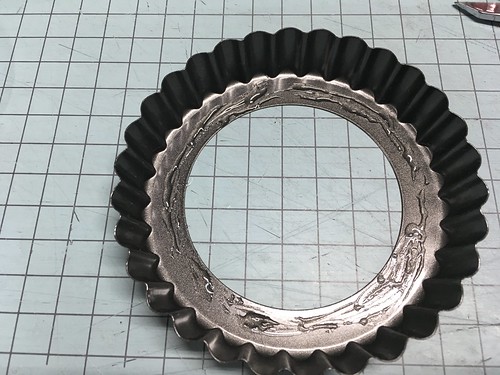
STEP ONE:
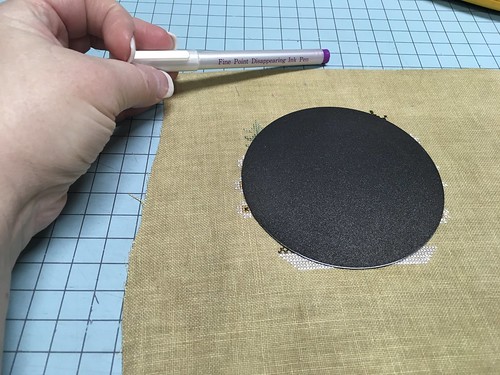
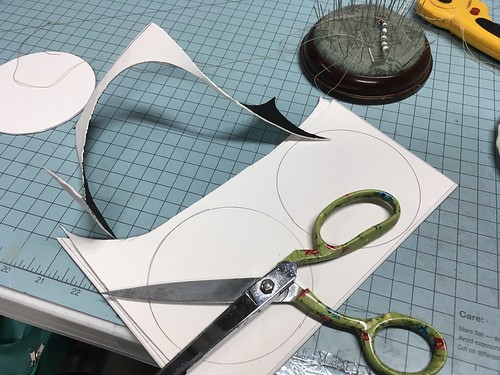
gather stitching and tart pan; separate the tart pan.
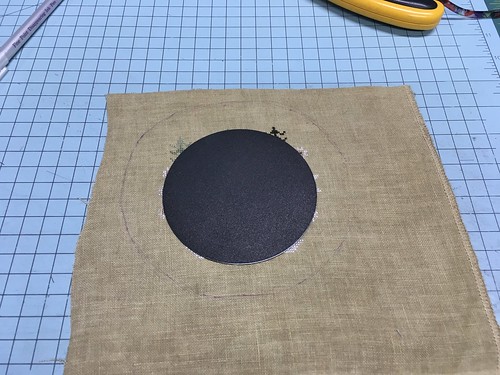
Place bottom on top of back of stitching, using a pencil or disappearing ink pencil, trace around the stitching leaving about 1 1/2 - 2 inches margins.
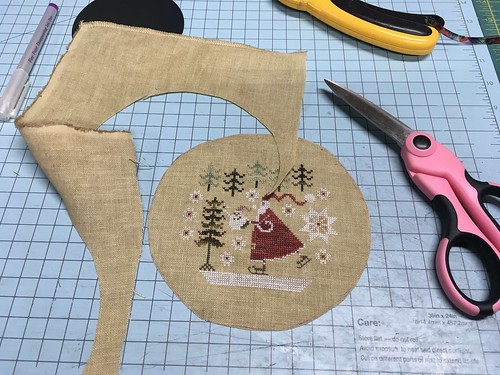
Cut Out

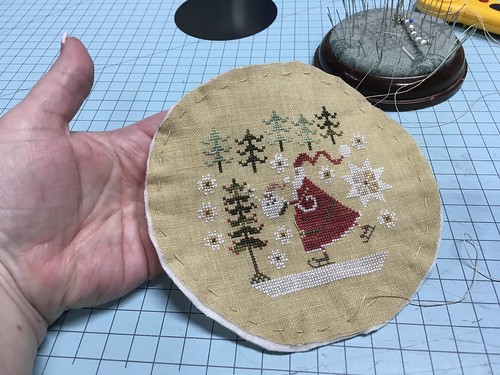
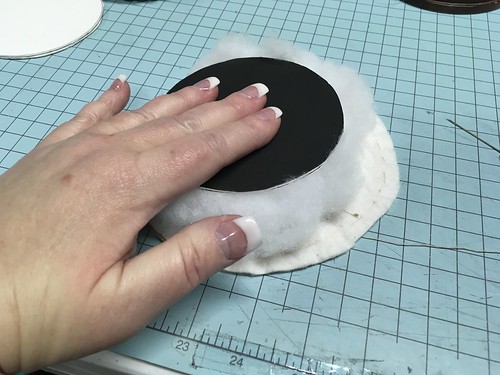
STEP TWO:
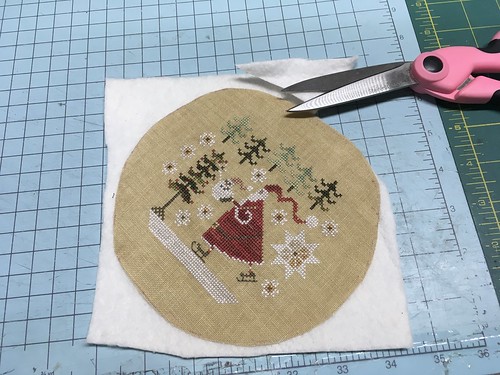
Layer cut out stitching piece on top of cotton batting, trim to size.
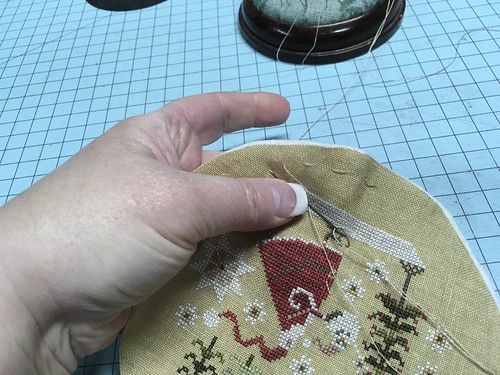
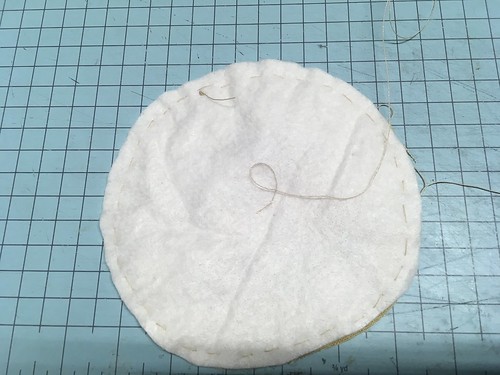
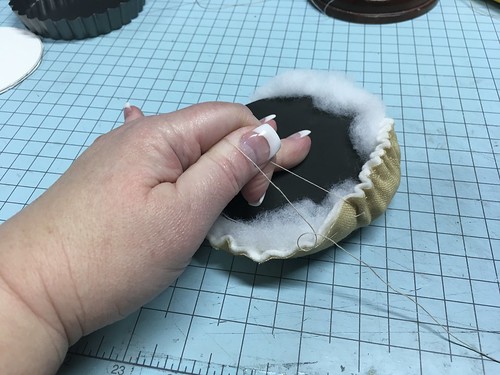
STEP THREE:
Using upholstery or heavy thread, make a running stitch around the outside edge of the stitching and cotton batting sandwich; then leaving needle attached, set aside.
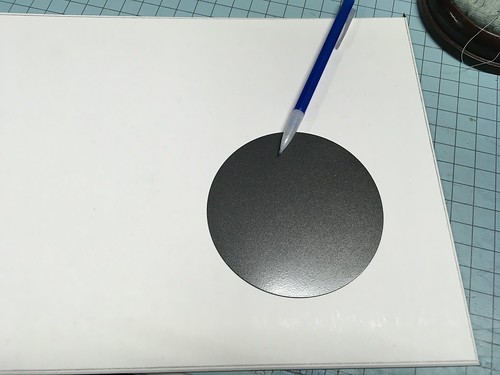
STEP FOUR:
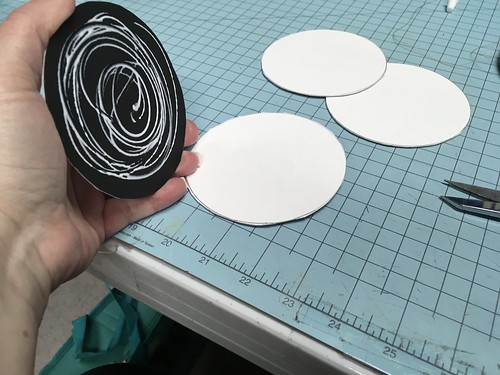
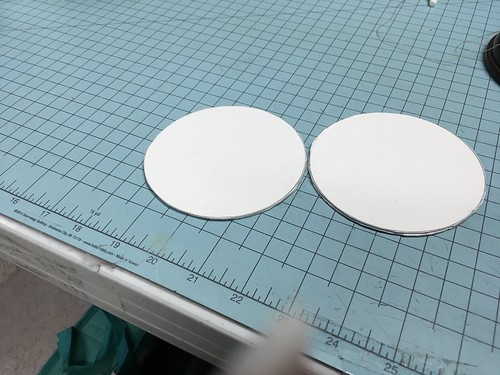
using the bottom of the tart pan, trace around bottom onto mat board - do 4 tracings and cut out.

STEP FIVE:
now using Aleene's Tacky Glue, glue two mat board circles together, making two sets of two mat board circles; set aside. We are using these later in the tutorial as "lift shoes" for our tart.
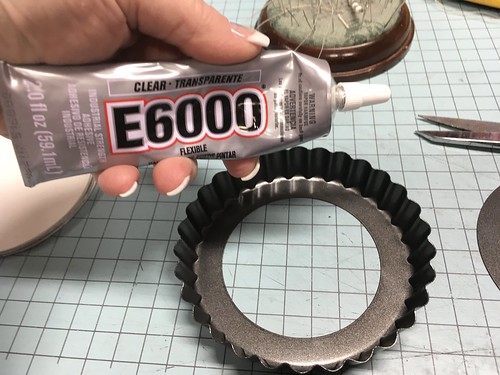
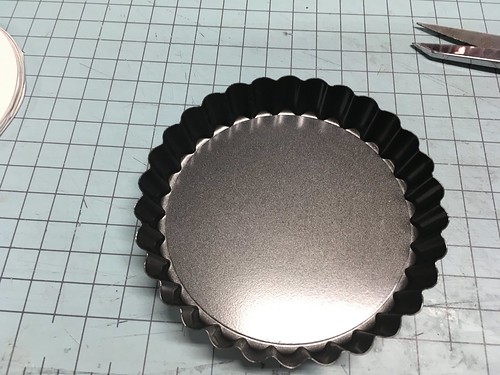
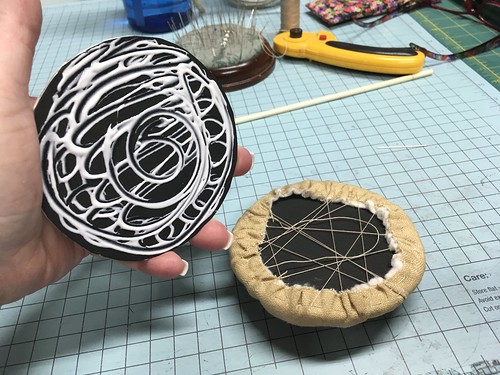
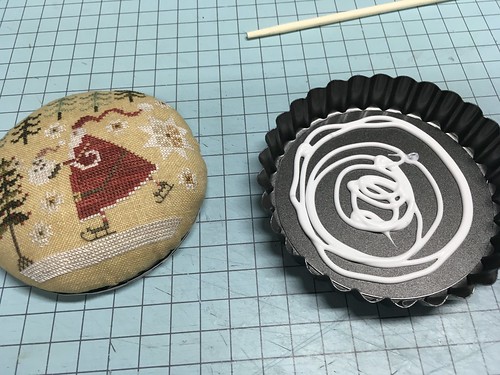
STEP SIX:
Using E6000, glue bottom into tart pan
STEP SEVEN:
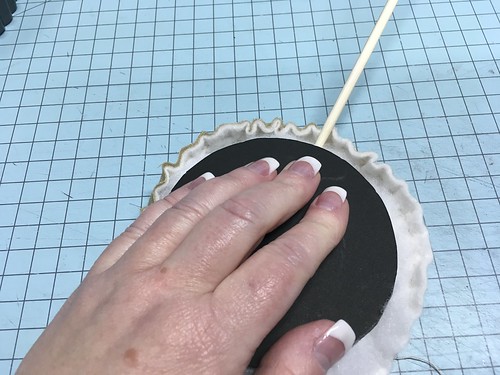
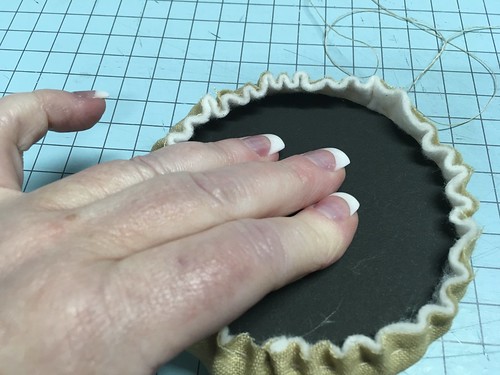
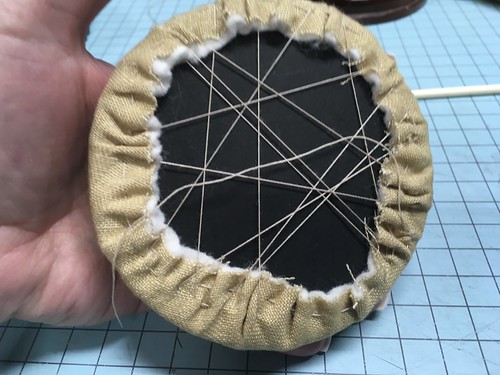
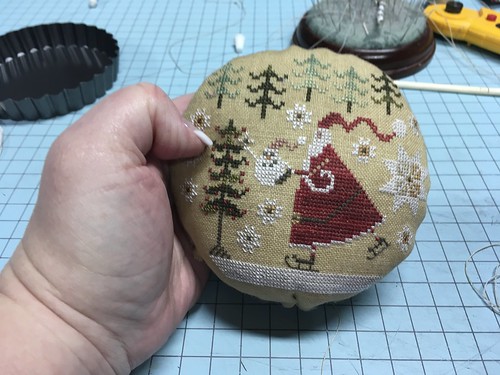
Now back to the stitching piece with the running stitch around the outside, pretty side face down, grab up a bunch of fiber fill (I prefer Mountain Mist) and wad it into a ball, place it onto of the cotton batting side and using a mat board couple, press down onto the stitching on top of the fiber fill, slowly gather up the running stitch, using a chop stick to stuff in the straggling fiber fill, pull tight; check the front of your stitching...does it need more fiber fill? Does it look round and full? If not or if there are wrinkles or waves, add MORE fiber fill until you have a smooth, plump round looking stitched piece. (see photos that follow in sequence)

STEP EIGHT:
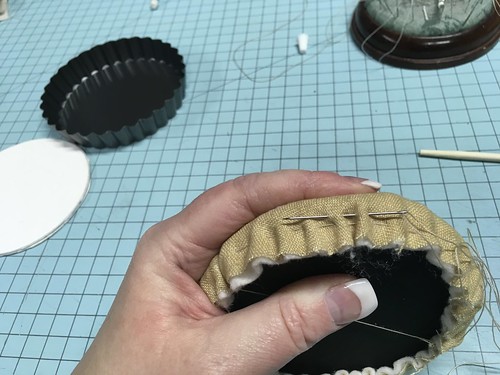
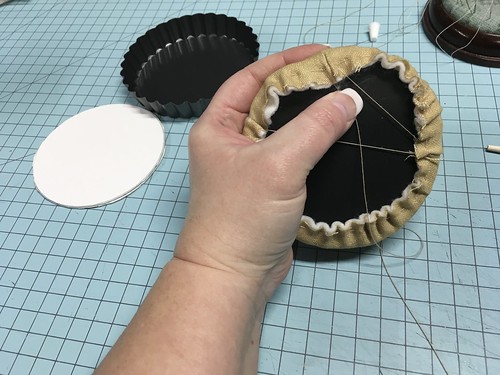
Once your are satisfied that your tart is nice and smooth and plump begin to lace your piece back and forth side to side to pull on all sides to secure. (see photos in sequence to get the idea)
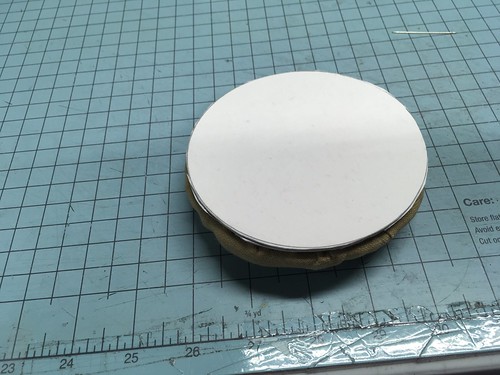
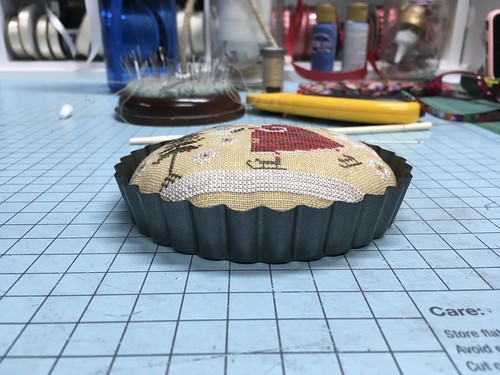
STEP NINE:
take remaining mat board pair, smear glue on one side and place on the backside of the tart (as shown in pictures that follow) this mat board pair acts like lifts in the tart to make it stand above the rim like heel lifts in the shoes :)
STEP TEN:
Spread glue in bottom of pan, place stitching inside (mat board side down).
You may want to place a book on top for a few minutes so that all surface area touches pan bottom and makes contact with glue.
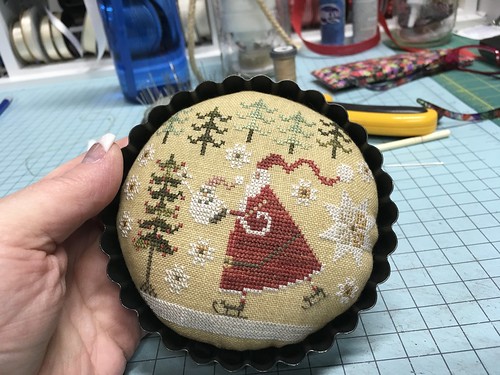
Admire that tart!
Use my tutorials, copy my ideas, use my techniques, hints or tips? Please remember to give credit to my name: Vonna, The Twisted Stitcher ~ Thank you.